
20 Easy Melt and Pour Soap Recipes for Beginners The Crafty Blog Stalker Diy soap recipe
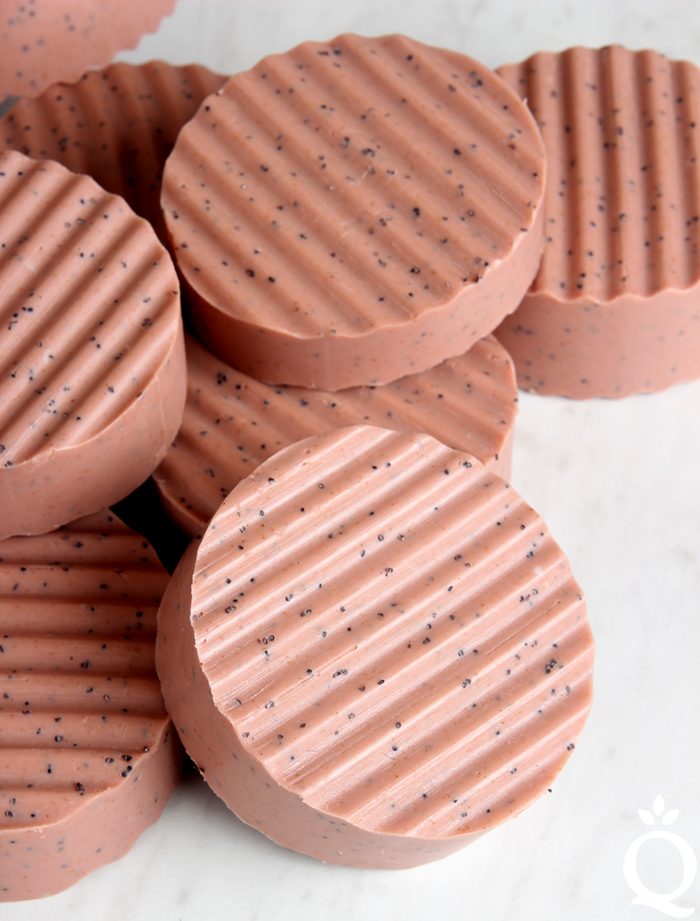
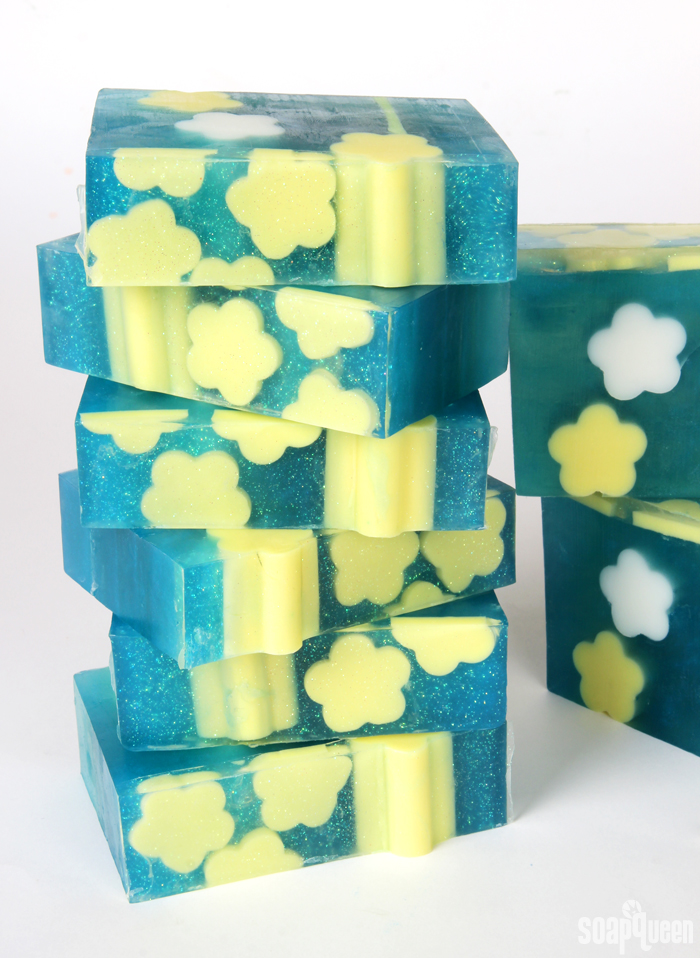
Craft your own Gradient Soap Bars! Perfect for DIY enthusiasts, these cute soaps are made with melt-and-pour methods that create cool shapes and designs. Go to the Tutorial. 16. Sandalwood Men's Soap from Outnumbered 3 to 1. Make Sandalwood Men's Soap with natural colors from paprika and coffee.

How to make Soap, The melt and pour easy method YouTube
Melt and pour soap is a ready-made soap base composed of fatty acids, glycerin, and other natural ingredients. The base is produced through the "saponification" process, which involves mixing fats and an alkali (such as lye). The resulting substance is allowed to cure for up to four weeks before it's ready for use.

How to Make Melt and Pour Soap Recipes for Beginners
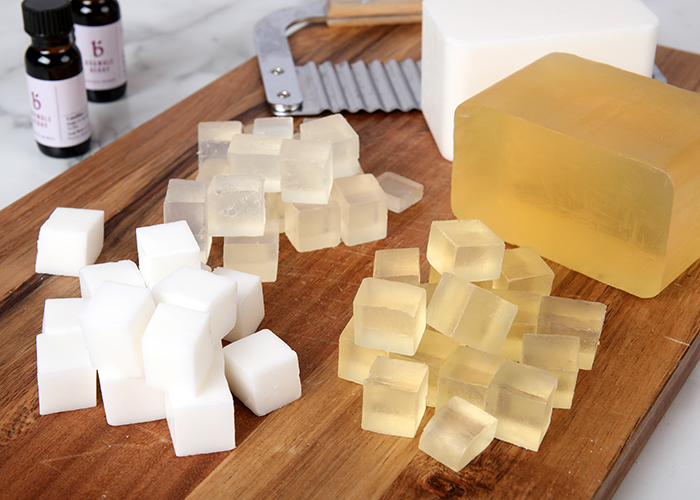
Slice your soap base into 1-in (2.54 cm) chunks and melt them in the microwave in 30-second increments. Let the soap cool down before adding in any extra ingredients, like pigment powder or essential oils. Pour the soap into molds and let it cool for 12-24 hours. Don't freeze or refrigerate the soap to speed things up.
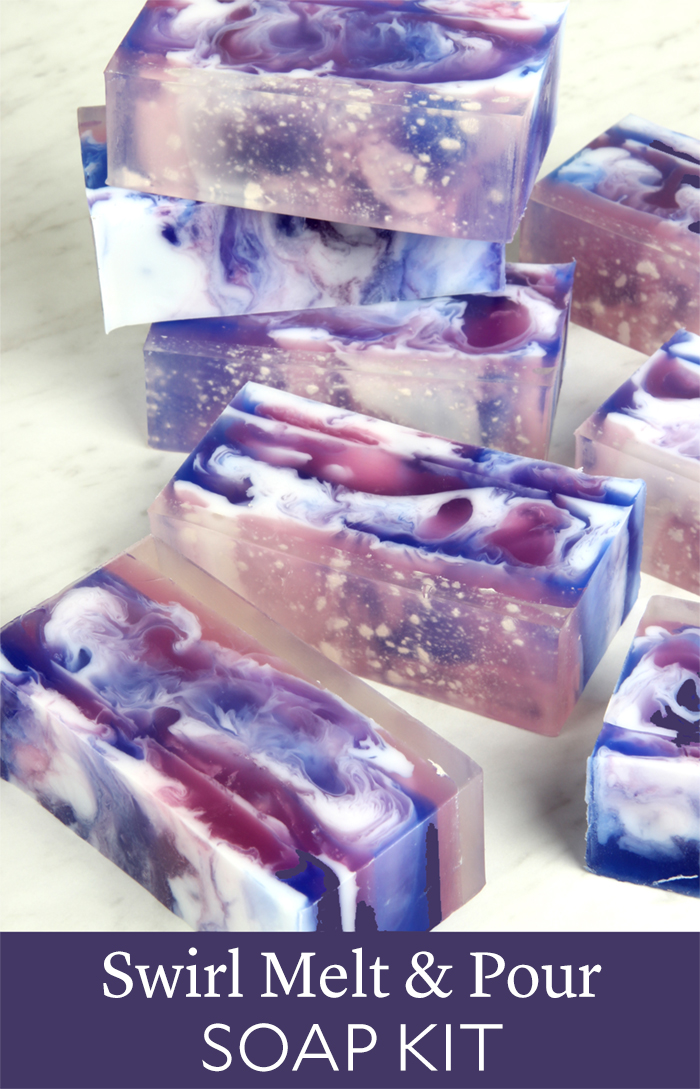
Swirl Melt & Pour Soap Kit Soap Queen
Allow to cool thoroughly then remove from the mould as usual. Another method you may prefer is to pour a couple of millimetres of clear soap into the mould. Allow to set and then spritz the embed (or toy) and place onto this base. Now carefully pour the rest of the soap around the embed/s and allow to set.
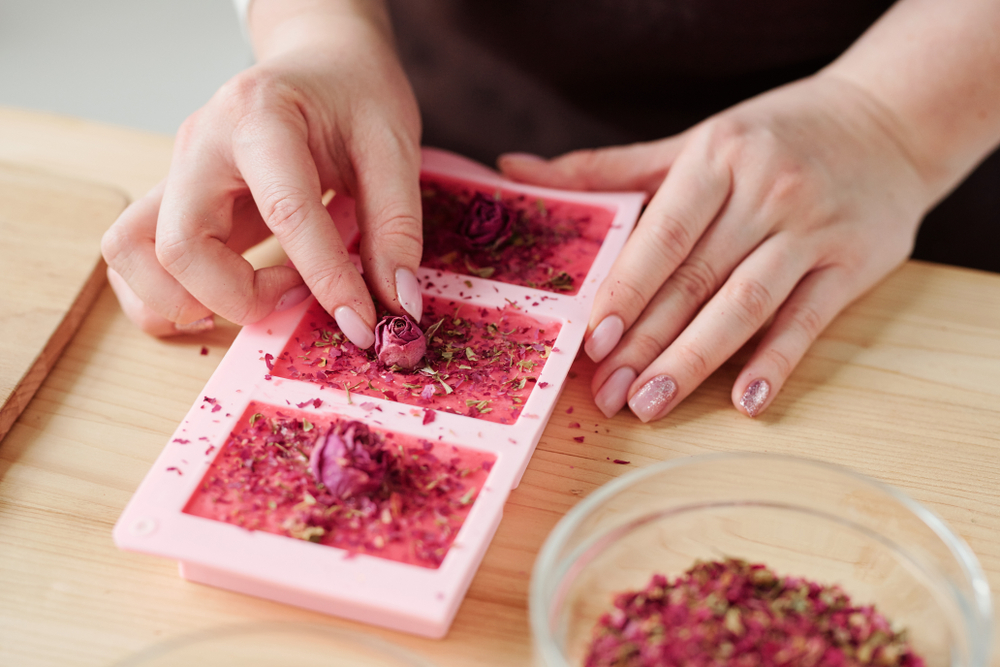
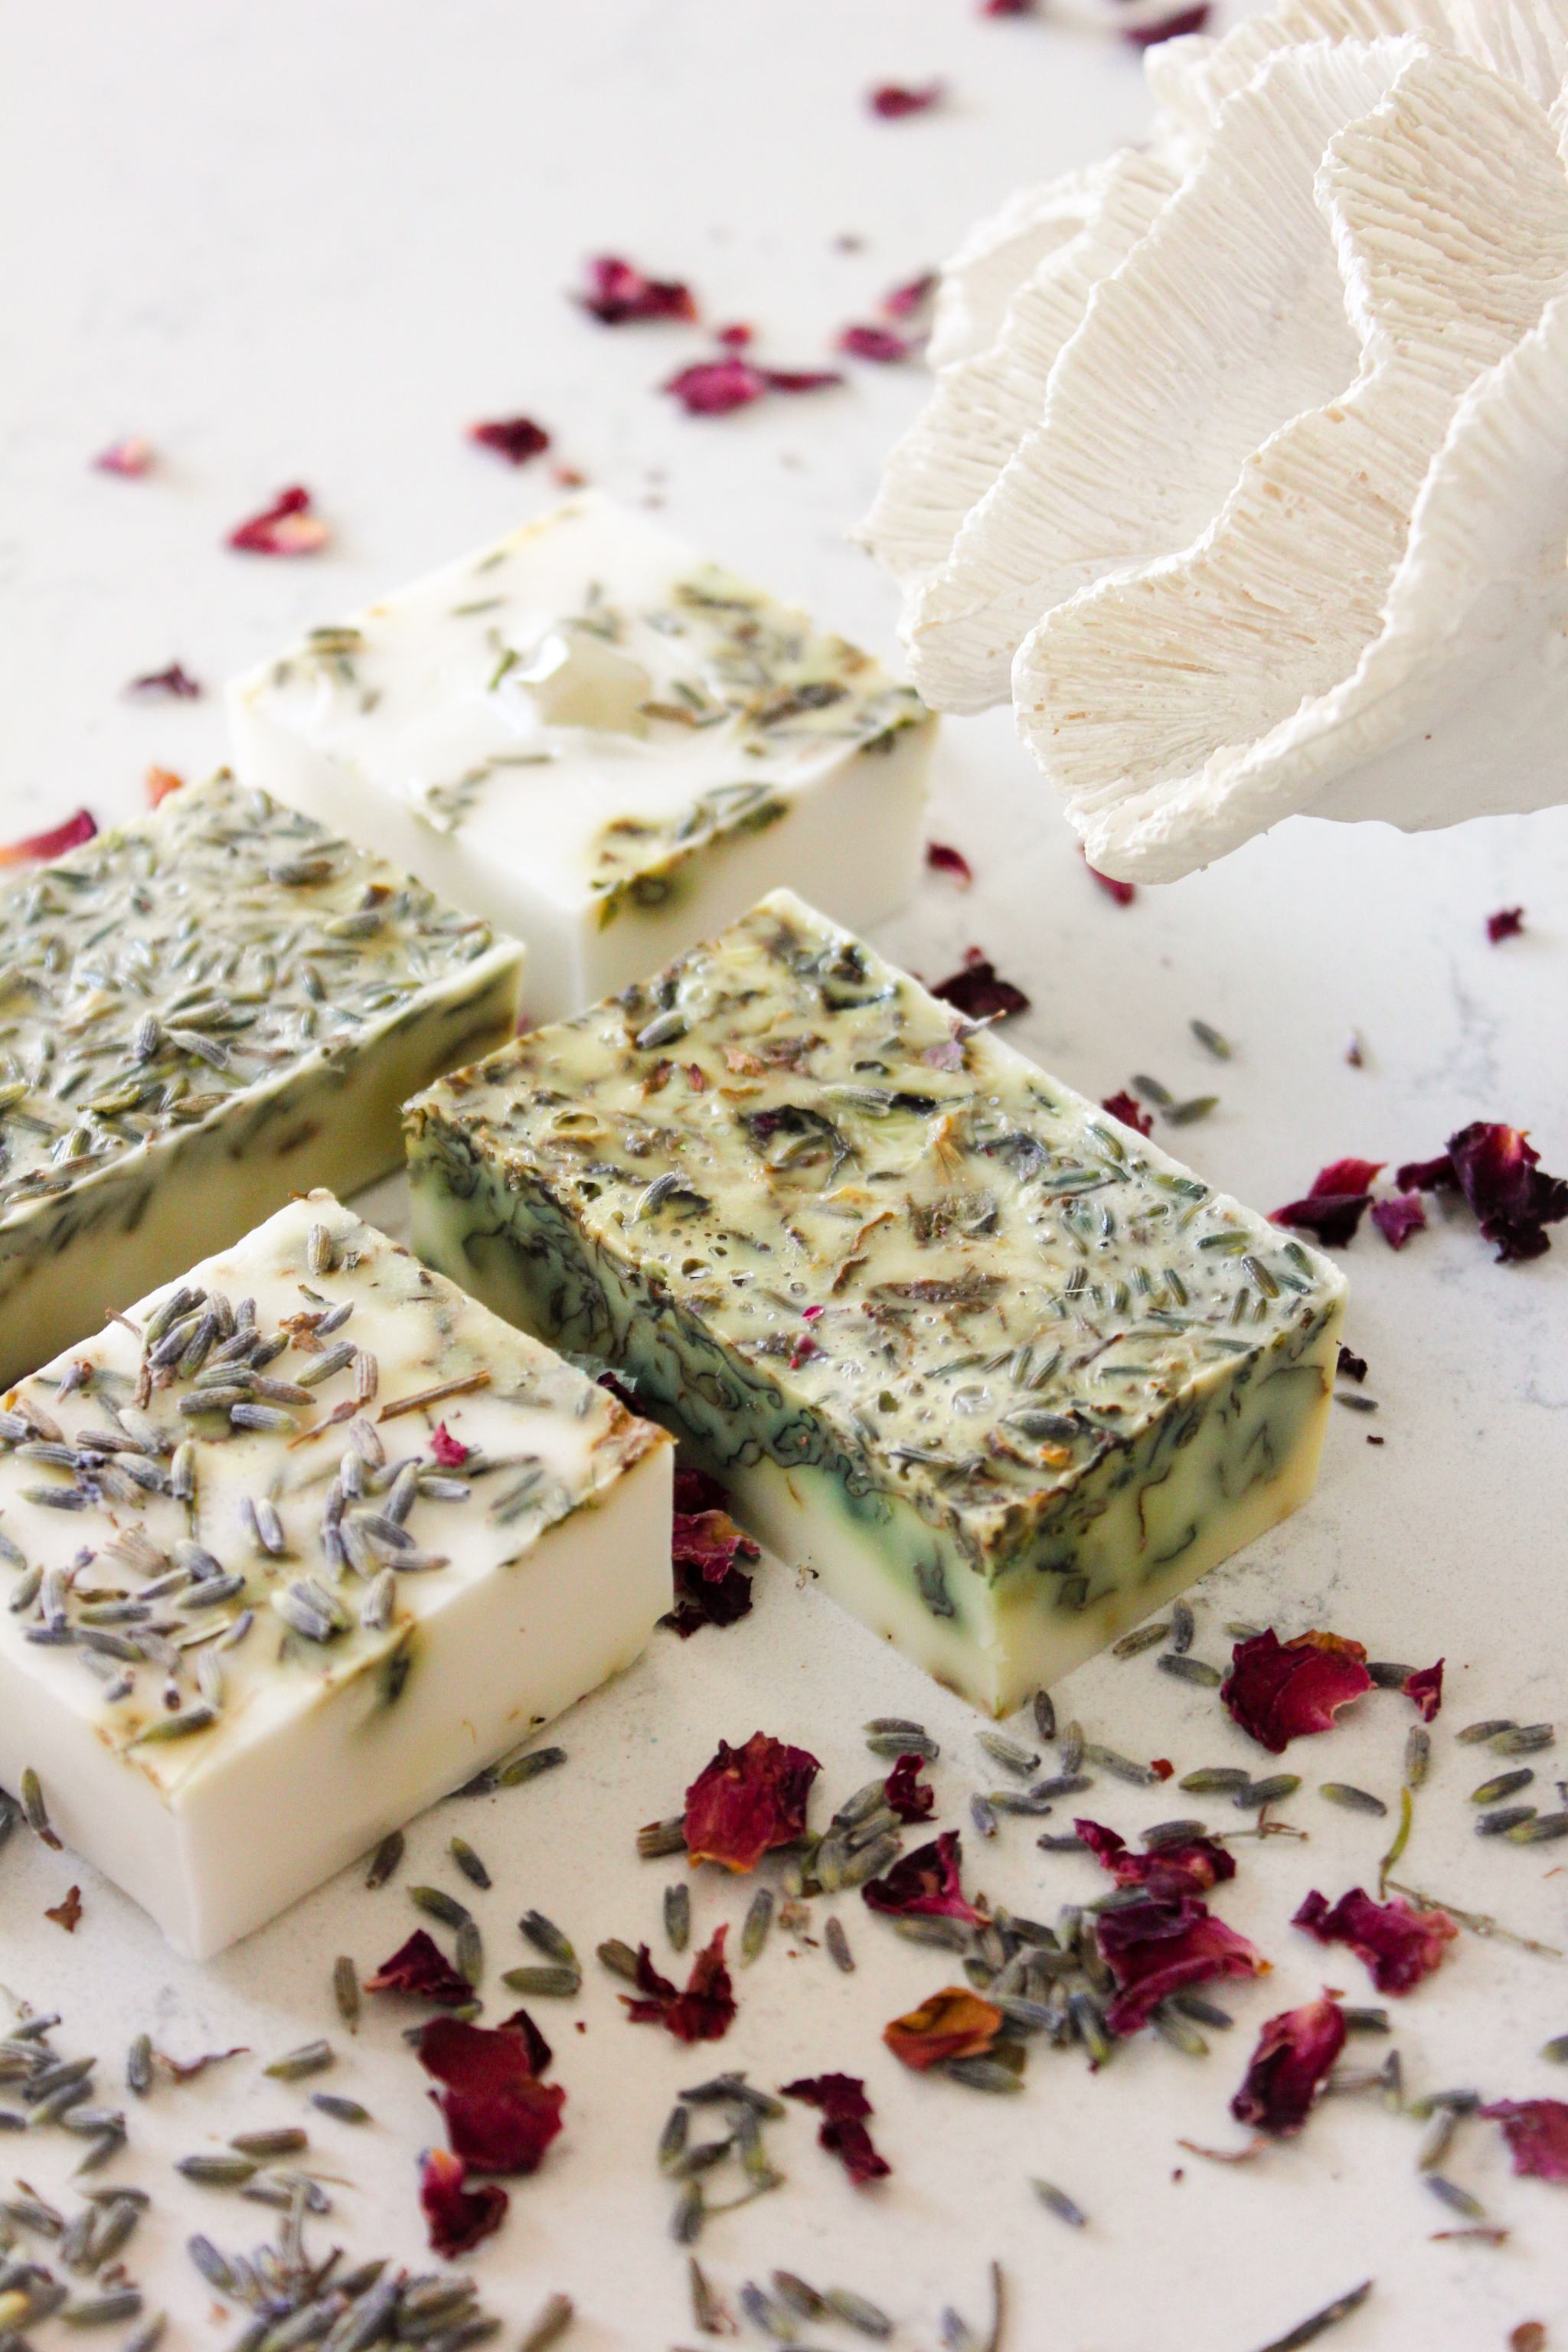
DIY Rosehip Melt & Pour Soap Soap Queen
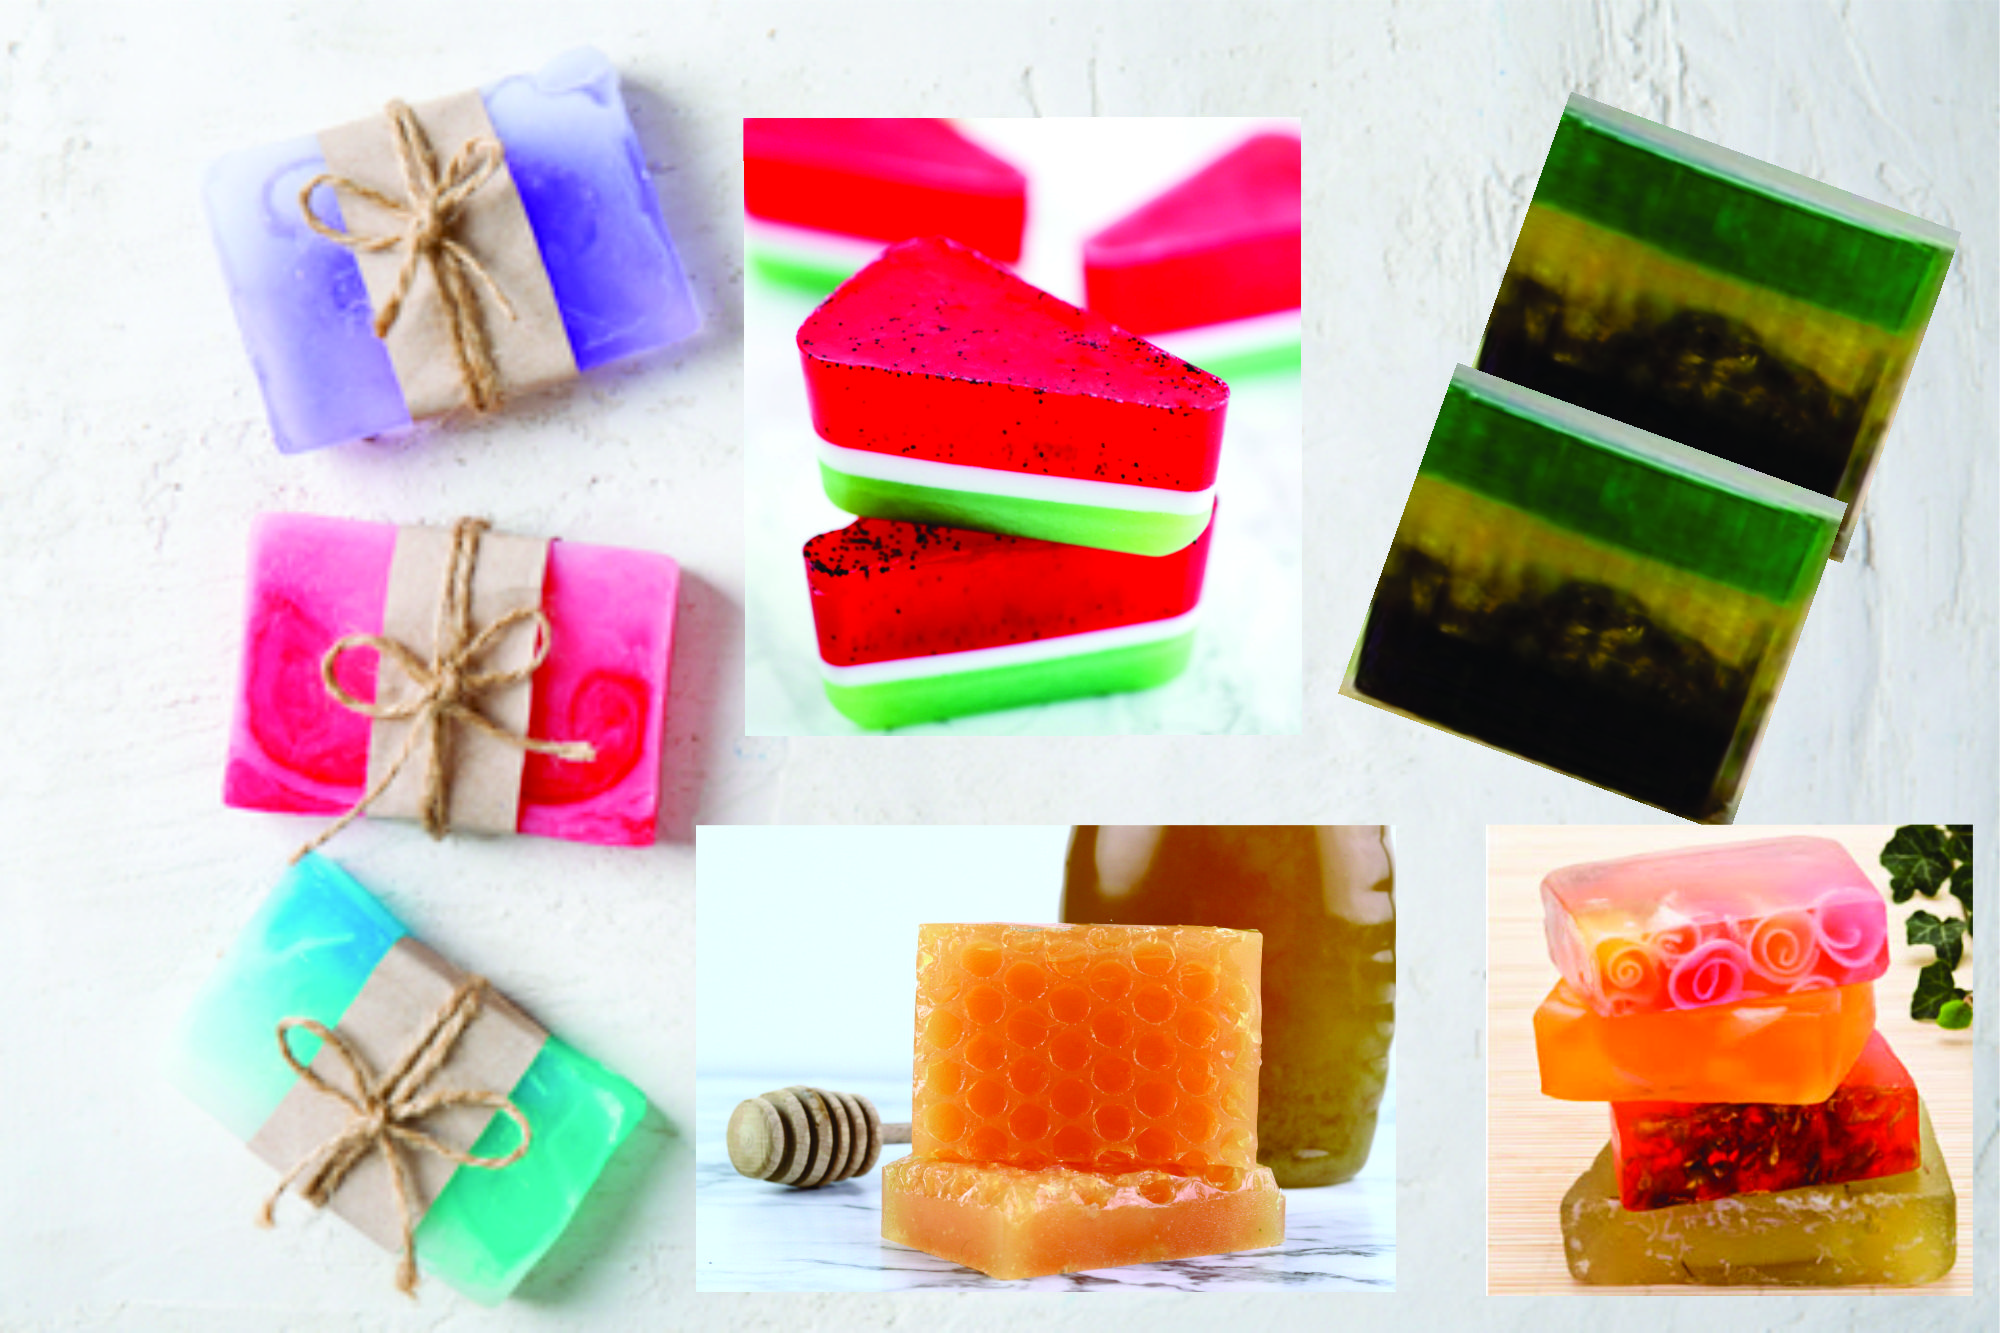
Homemade soap makes great gifts, and we think these recipes will inspire you to plan a trip to the craft store ASAP. 1. Rosewater + Pink Clay Soap. Made with rosewater and pink clay, this luscious-looking soap is also good for the skin. Use it on your face and body to help fight acne, oil, and debris. 2.
Beginners Melt & Pour Glycerin Soap
To make your soap a bit harder you can add up to 1 tablespoon of beeswax, cocoa butter, or shea butter per pound of melt and pour soap you're making. Cocoa butter and shea butter contain stearic acid which aids in creating a firm soap. That said, these methods will reduce the amount of lather the soap can produce.
15 Melt and Pour Soap Recipes Anyone Can Make (2023)
Heat the soap in the microwave, starting with just a minute at a time. Remove the soap and stir it. (It will be thick and chunky.) Repeat heating the soap base a minute or so at a time until all the chunks are gone, and the soap is completely melted. These two pounds of soap base took about four minutes to melt completely, but your soap base.

Galaxy Me!! melt&pour soap from natural color & ingredient. Galaxy I, Goat Milk Soap, Soap
Then, heat glycerin in a microwave on high, stirring at 15-second intervals, until it's completely melted. Add any extra ingredients—such as essential oils or color additives-stirring to combine. Next, carefully, pour the melted soap into mold. Try not to splash the soap or get too many bubbles. (Note: If you do get bubbles in the soap.

Beginners Melt & Pour Soap Kit PureNature NZ
Step 3. Step 3. Sue Ferris. Put soap cubes into a heatproof jug and microwave in 20-30 second increments, stirring after each, until cubes are fully melted. Add 3 tablespoons of honey and stir in.
Buttercup Melt & Pour Soap DIY Soap Queen
Follow the recipe. Some call for melting the soap base in a microwave, double boiler, or a crockpot. Depending on your recipe and add-ins you plan on using, you can add additional butters or oils. Transfer the melted soap to a heat-safe bowl. Allow to cool slightly and stir.
Free Beginner's Guide to Soapmaking Melt and Pour Soap Queen
10 soap clamshell mould; 1 double boiler or 1L microwave-safe plastic jug (see different instructions below) 1 stainless steel stirring spoon; INSTRUCTIONS. If using a double boiler:Add the melt and pour soap base in to your double boiler and heat until it starts to melt. Keep an eye on it and stir at intervals.

Simple Melt And Pour Soap Recipes & Process Savvy Homemade
Melt and pour soap is a great option for beginners. All you have to do is melt the premade base, customize it with your favorite colors and scents, and pour into a mold. Once you get the hang of the process, you can experiment with advanced techniques like layers and swirls. Cold process soap is made by combining oils and sodium hydroxide lye.

DYI Melt and Pour Soap
Melt and Pour is a clear glycerin soap base that is easily melted, coloured and moulded into stunning and creative soap. It is very gentle on Fragrances and Essential Oils and you don't need as much as with Cold Process Soapmaking. You can use vegetable dyes to colour your soap, but be aware that they will bleed (move around in the set soap.
DIY MELT AND POUR SOAP OH SO KEL
Melt and pour soap is a great option for beginners! In this video, Bramble Berry CEO and Founder, Anne-Marie Faiola, goes over the basics of melt and pour so.

29 DIY Fun and Colorful Melt and Pour Soaps ⋆ Dream a Little Bigger
Choose skin conditioners (if using), adding no more than 1-3% of the weight of the base (about 1 Tbsp. per pound) Choose exfoliants (if using) like oatmeal, fresh herbs or hunks of loofa sponge. Add in any mix-ins to the melted soap base and pour into molds. Allow the soap to harden for about an hour.

This Sparkling Fig Melt & Pour Soap Tutorial shows you how to make beautiful swirled bars of
Remove from the heat and then gently stir to melt these last little pieces. If heating large quantities of soap (approx 500g or more), we recommend covering the heating vessel with a lid to avoid evaporation from the soap. Once melted, add colour, then fragrance, and stir to combine well and pour!
