
Last Minute Pumpkin Hack You Can Do In 5 Minutes! Pumpkin carving
After you've drilled all the patterns, clean off the loose pieces of pumpkin. 5. Carve the lids out and scoop out the insides. Run the drill bits through the holes again, if necessary, to clear out pumpkin debris. 6. For the pumpkin with flowers in the top, place a jar of water inside the pumpkin. Replace the lid.
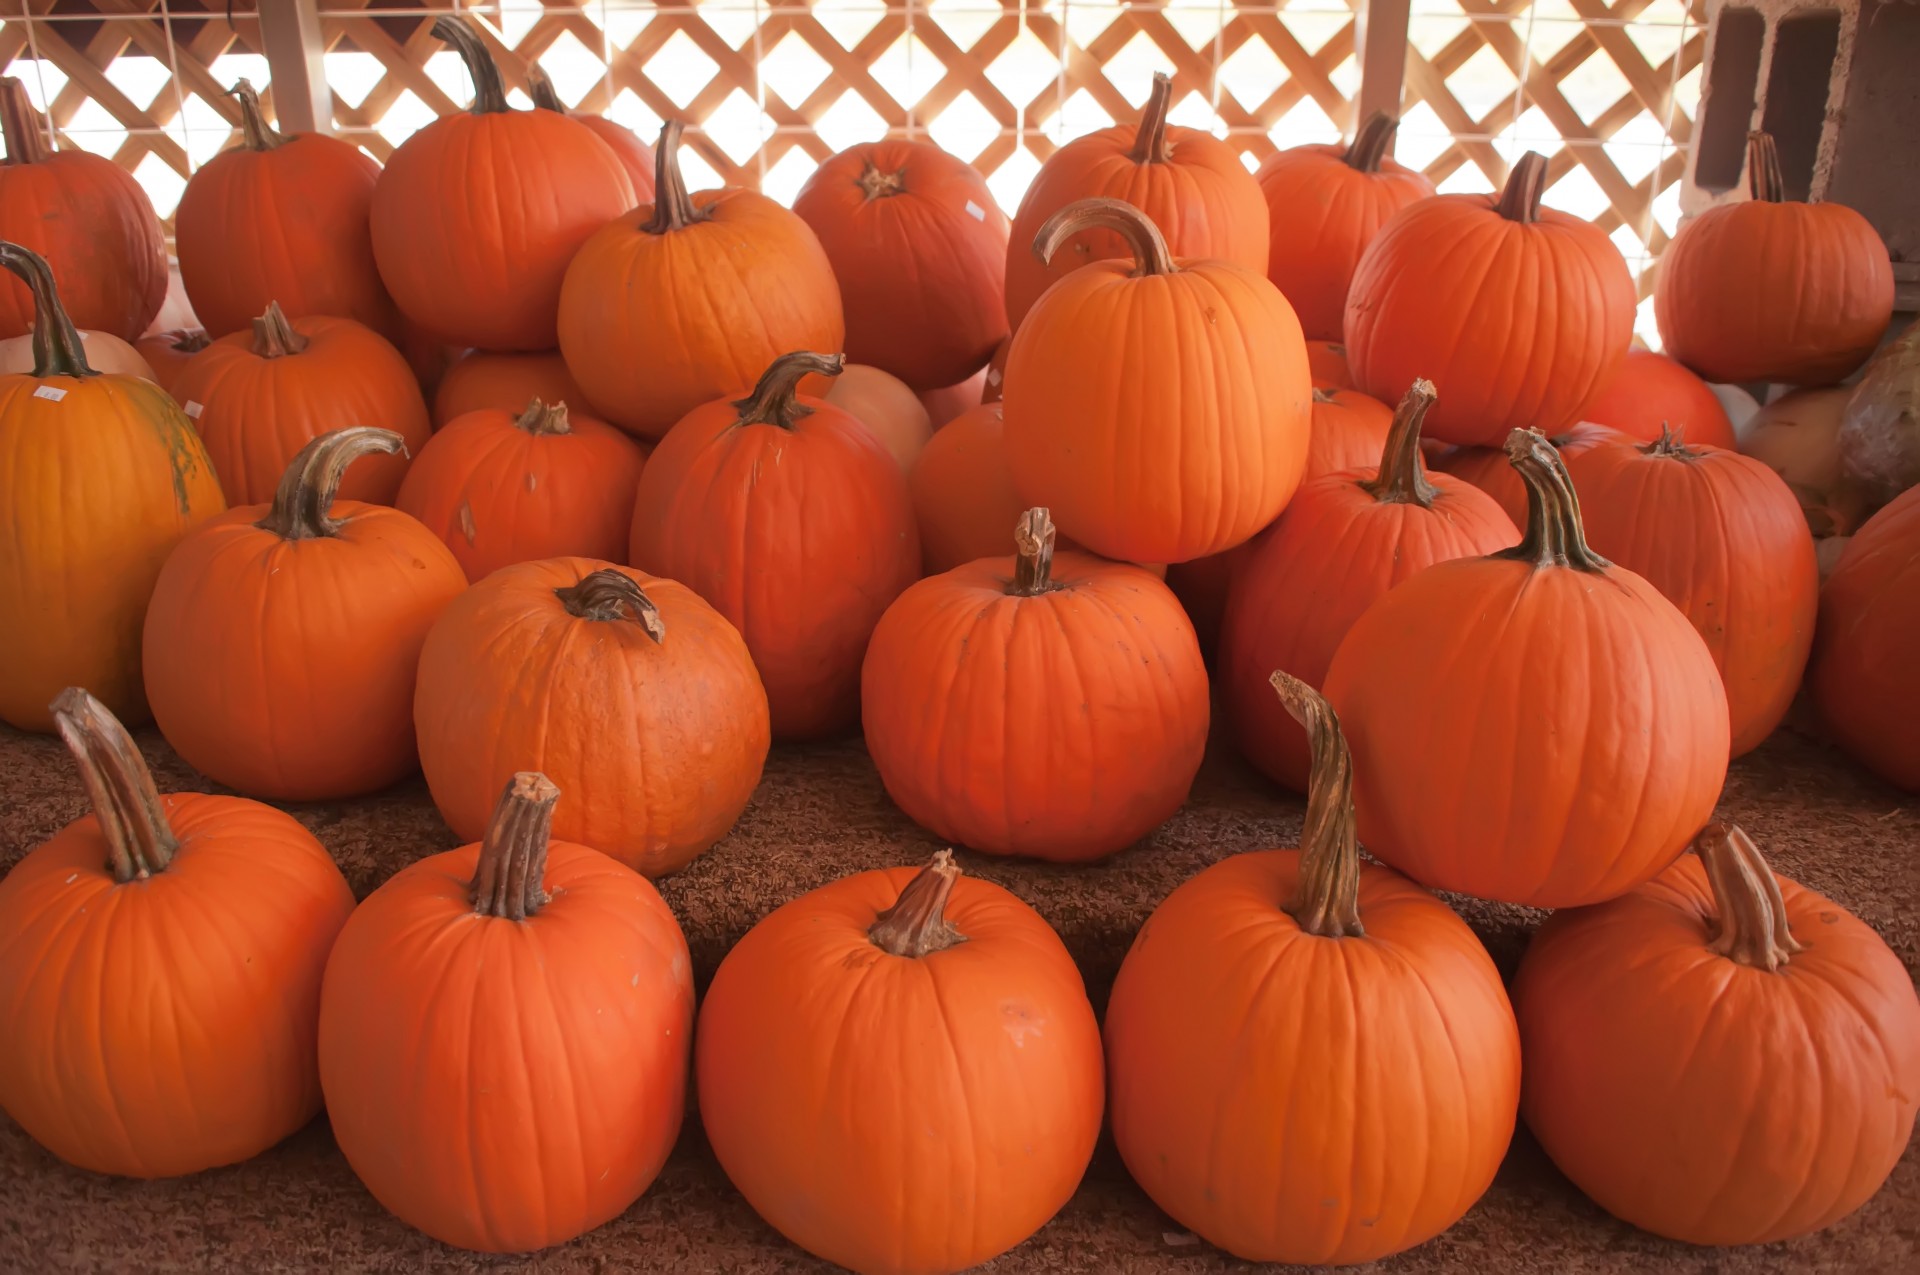
Pumpkins On A Pumpkin Patch Free Stock Photo Public Domain Pictures
Drilled Pumpkin Design. Tracy Wackerman was so wonderful and wanted to shared with us how she made drill bit pumpkins! This is a fun and unique way to decorate your pumpkins for Halloween! I'm going to have to borrow my husband's drill now to make a zig-zag pattern or a monogram letter! Tracy said "I used a ⅝" drill bit to make the flower.
How To Drilling Pumpkins 17 Apart
Power Drill with 1/4″ bit. Battery Operated Candle. Give your pumpkin a coat of spray paint. Then using a power drill create holes in your desired pattern, Using a tool with sharp edge, cut the top off so you can lift it off. The holes will not be smooth on the inside, so I took a sheet of sandpaper and gently sanded the inside to get rid of.
How To Carve A Pumpkin With a Drill All Created
Drilled hole designs. thegardenglove.com. This is the no carve pumpkin decorating idea we went with a few years back when our son was three. He already loves using tools, so we knew he'd enjoy using the power drill to create holes in his pumpkin. Not to mention it's something he can easily do (with only a slight bit of assistance) and the.

One Wall At A Time Pinterest Challenge9 Drilling Holes through Pumpkins
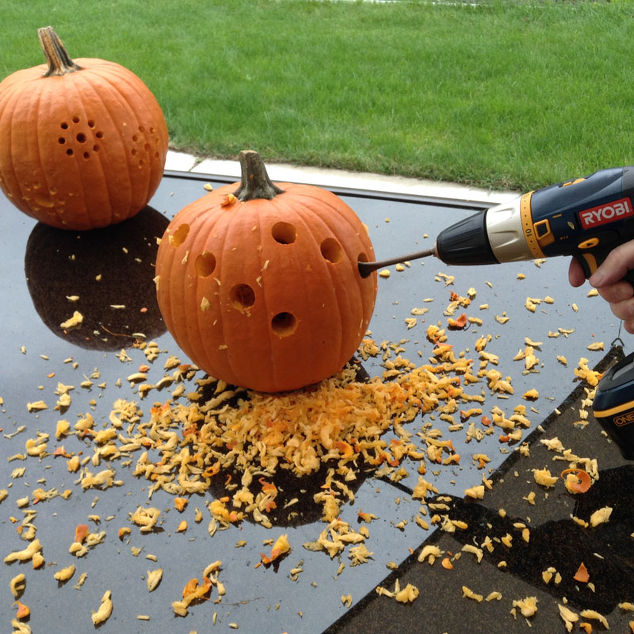
Drill Holes Using Large Bit. Use a large drill bit to drill holes into the pumpkin just under the top piece of painter's tape. Drill another row of large holes all the way around the pumpkin, just above the bottom piece of painter's tape. Remove both pieces of tape and drill a third row of large holes directly above the top row of holes.
Halloween Pumpkin Carving Drill Meet Pumpkin, Pumpkin, Drill! Mimi's
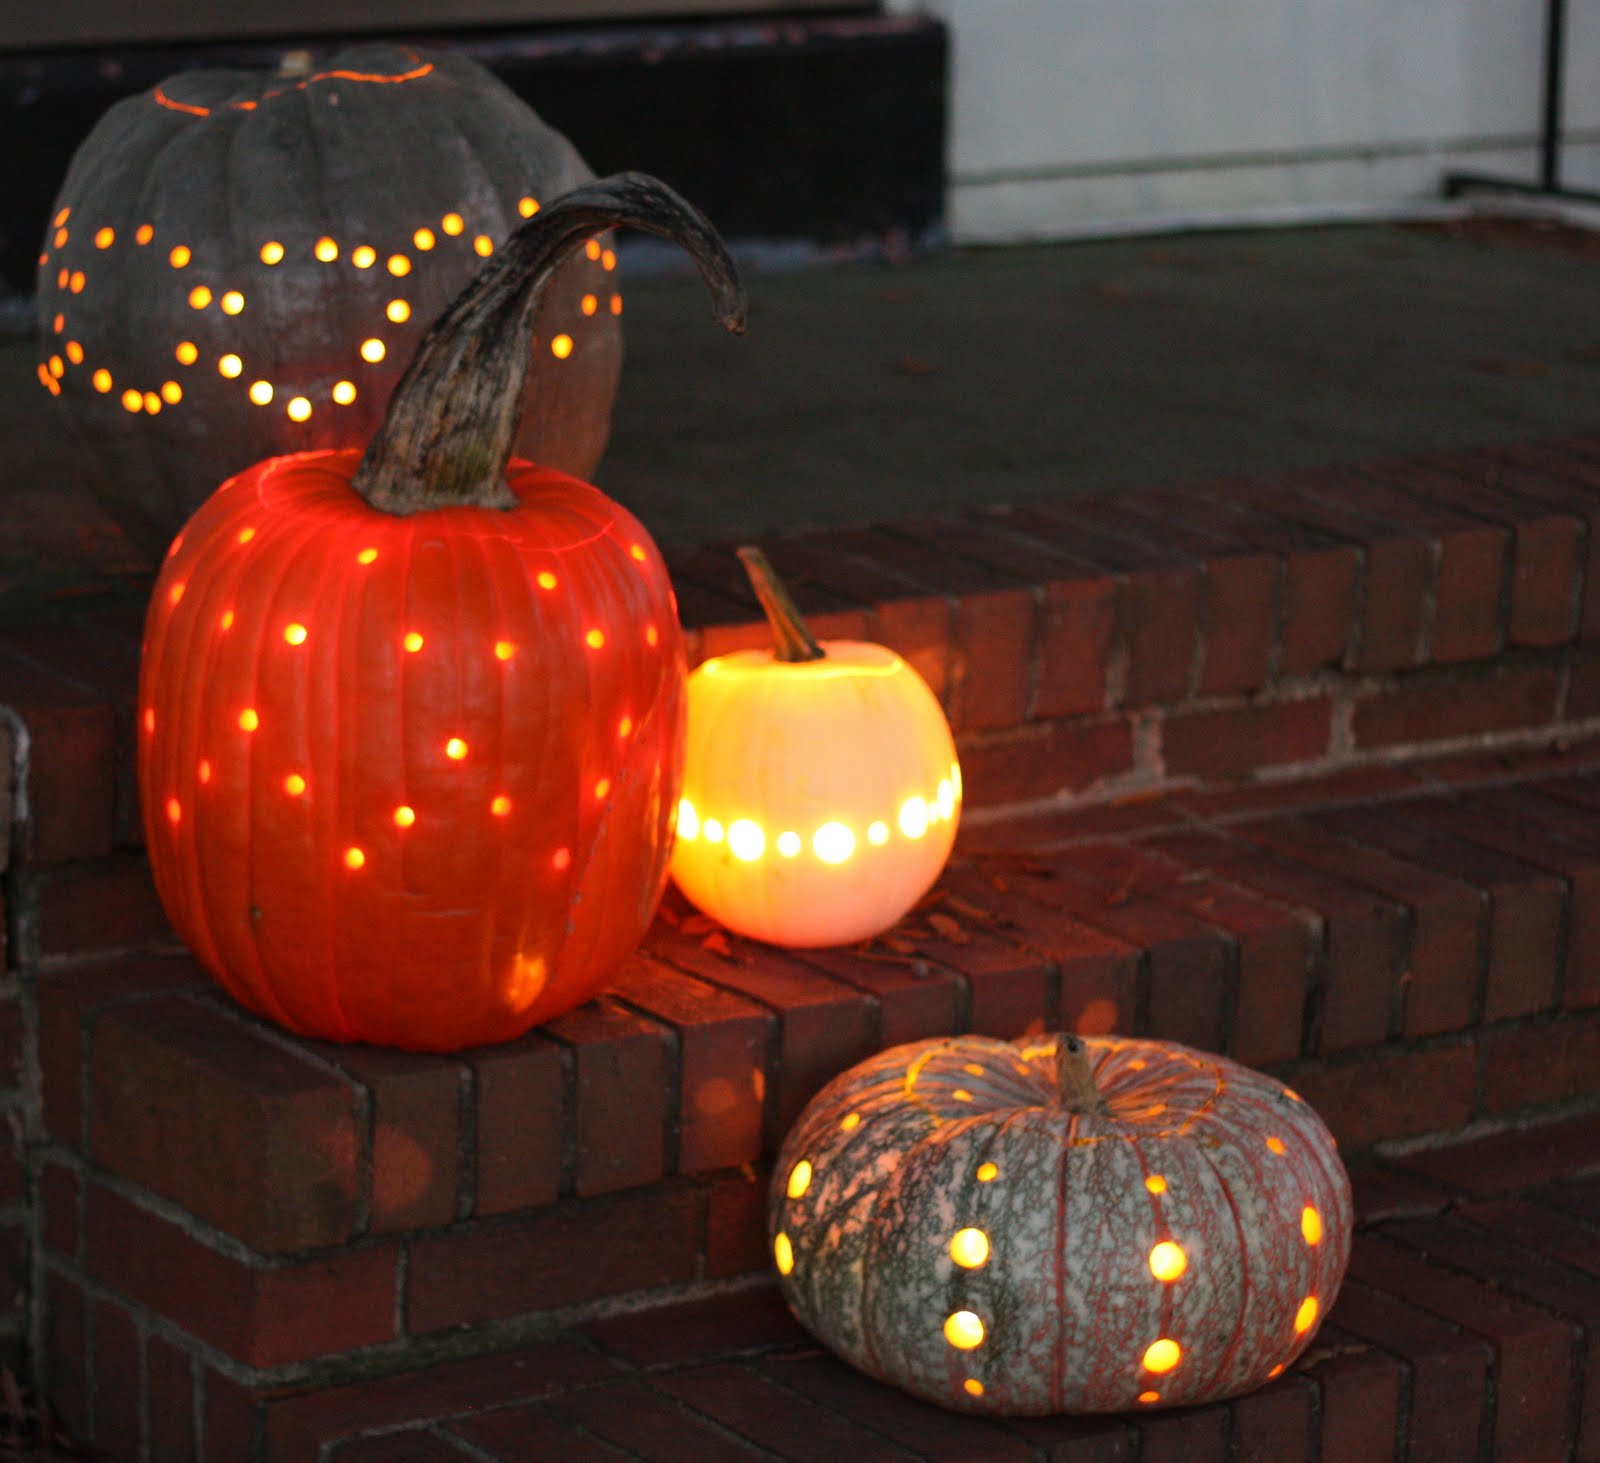
Predictably, the Better Homes and Gardens jack-o-lantern round-up had some great pumpkin designs creatively carved by power tools. No shortage of inspiring ideas in that slide show. HGTV has their own step-by-step power drill tutorial and this photo reflects the look I opted for - blending carved and uncarved pumpkins together in the same.

cool pumpkin carvings easy pumpkin carving ideas scary but easy pumpkin
This has to be the easiest way I've seen to create a fabulous pumpkin for Halloween. To start off with, it's the usual routine of cutting open the pumpkin. This is my husband's hand, by the way. He was convinced that a small knife was the best way to go (it wasn't for the record… but he says that's just my opinion…).

Drill Holes in Pumpkin Pumpkin Carving Hacks 12 Brilliant Ideas for
Making a really cool design with a power tool is actually easier than carving traditional designs on your Halloween pumpkins. A drill is perfect for making uniform-sized holes to make fun designs.. Print out a few copies of the template according to the size of your pumpkin then tape onto pumpkin. One by one, drill holes through each.

Drill hole in pumpkin, add candle! Pumpkin carving, Pumpkin, Holiday
Updated on 9/10/2015 at 7:13 PM. No knives are necessary at this year's pumpkin-carving party. Instead, head into the garage and pull out the drill because drilled pumpkins are all the rage for.

How to Make Drill Carved Halloween Pumpkins DIY & Crafts Handimania
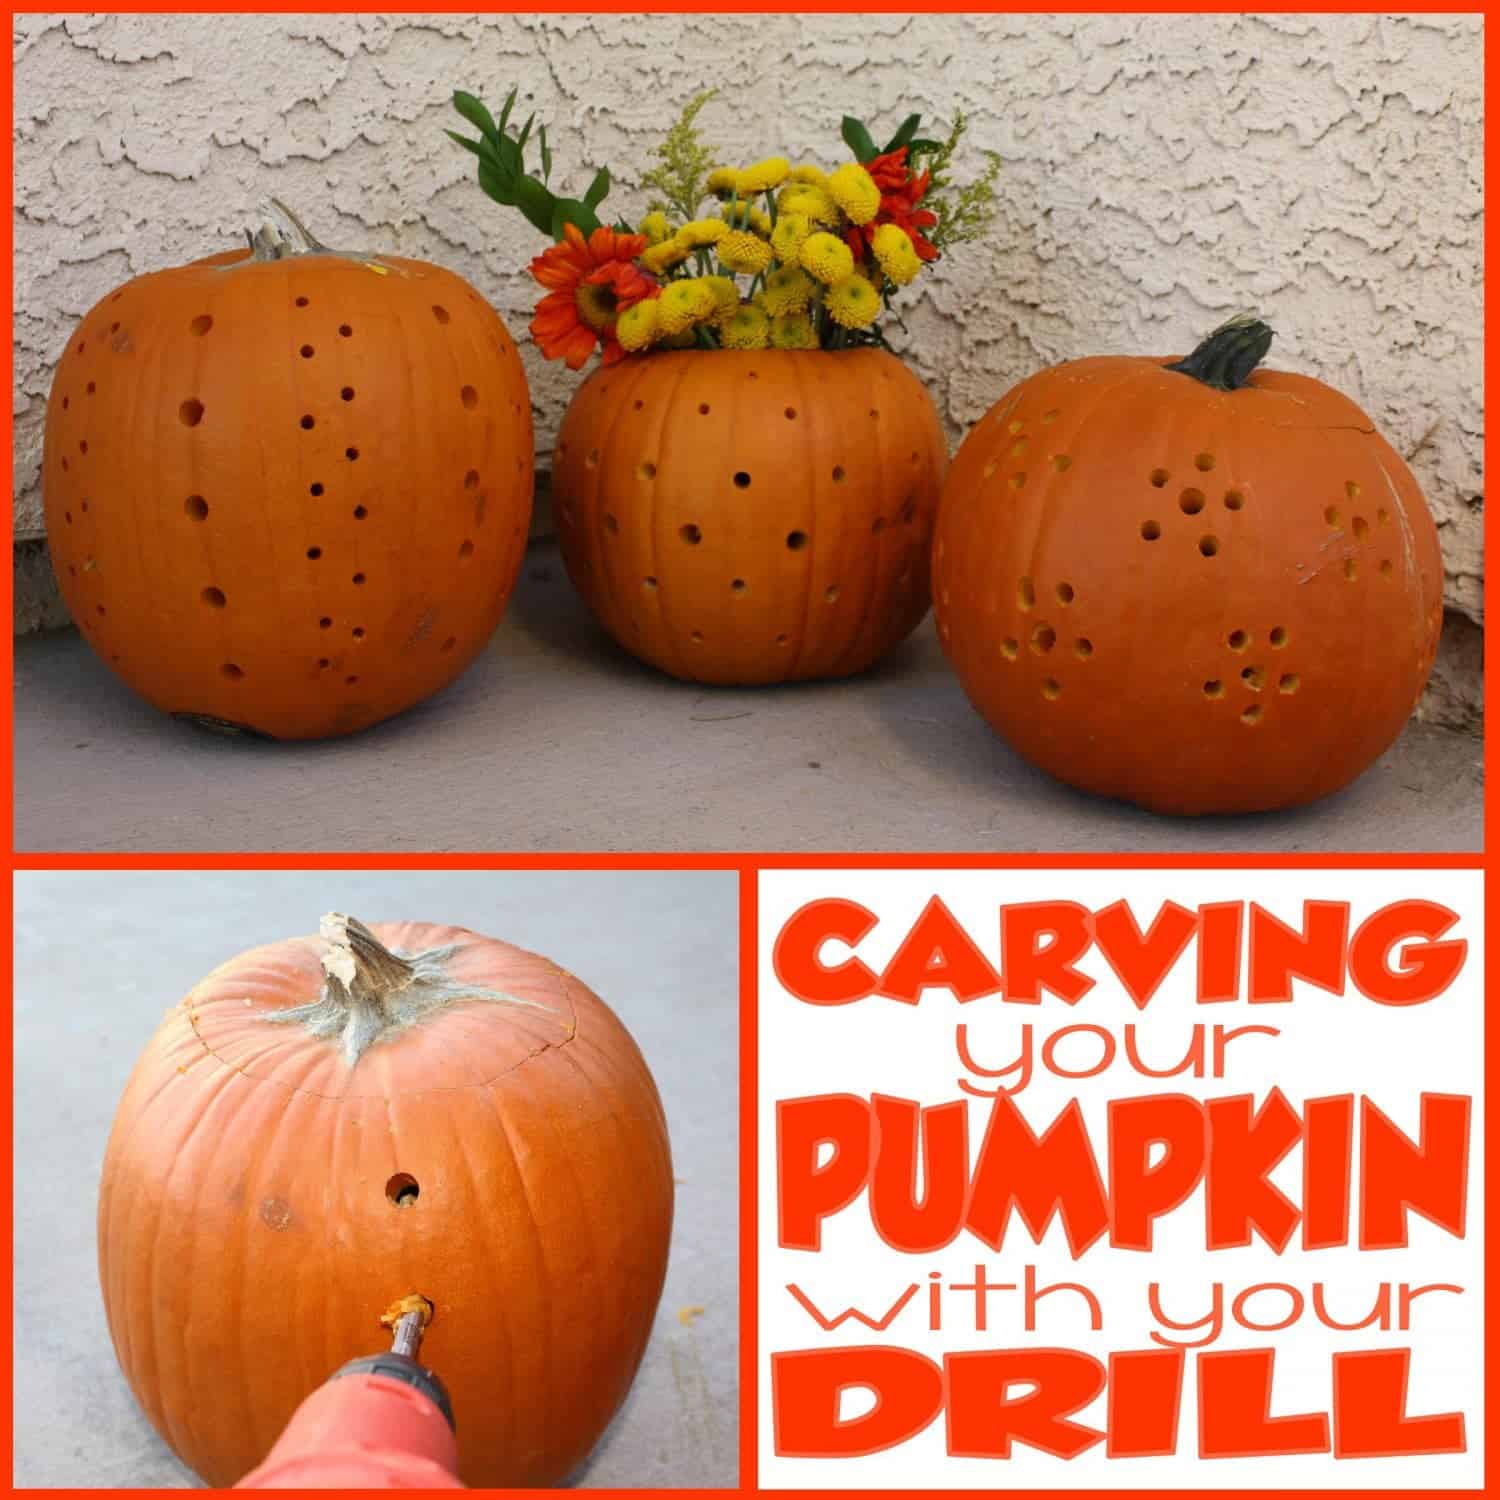
Pumpkin. Drill and drill bits. Knife and pumpkin gut scooping supplies. Pencil and paper (optional) Tiny human helpers (also optional, but recommended) First, cut out your pumpkin lid and scoop out the guts. Standard pumpkin procedure. Basically the whole point of us doing pumpkins this year was to watch (and photograph) my kids faces as they.

Drilled holes effect pumpkin Pumpkin, Pumpkin carving, Carving
Lightly dust the top of the cut pumpkin lid with a tiny amount of cinnamon, then blot it off with a paper towel. Make sure there is no loose cinnamon inside the pumpkin (this can be flammable) before lighting a candle and replacing the lid. After a couple of minutes, the room will smell like pumpkin spice . 10of 21.

Dotted Lacy Carved Pumpkin with a Drill
DecoArt Chalky Paint in Everlasting. DecoArt Ultra-Matt Varnish. Use graphite paper to trace the outline of your shape onto the pumpkin. Use a little tape to hold it in place. This is what your design will look like after tracing it onto your pumpkin. Grab a few drill sizes and plan which you'll use where.

Drill bitcarved pumpkins. Tony McConnon Pumpkin carving, Amazing
1-2 hours. Drill/driver. Kitchen knife. Large long-handled spoon. Permanent marker. Sure, you rely on it to hang shelves and assemble furniture, but your drill is also the key to turning the pumpkins on your doorstep into out-of-the-ordinary Halloween luminaries. Studded with tiny bulbs in swirling or geometric designs, the gourds shown here.

Drill bit pumpkin Halloween luminaries, Pumpkin drilling ideas, Fall
Simply clean up any pumpkin pieces from the inside of the pumpkin and wipe inside & out with a wet washcloth to ensure each drilled hole is clean and clear. At this point, you are ready to test out your new jack-o'lanterns! We like to place between 2-3 tea-lights in the bottom of each pumpkin. Top the pumpkins with your topper stems and admire.

My 2013 drilled pumpkin (rear view). Jasper helped drill these holes
Pumpkin Carving with a Drill. Step One: Create a pattern and use painters tape to help you mark it onto your pumpkin. We used dry erase marker to make the initial marks, then punched with a skewer to make it easier to get the drill going in the right place. Step Two: Using various sized bits, we drilled straight into the pumpkin at the pre.

Pumpkin with holes drilled in. Pumpkin, Pumpkin carving, Carving
Step 1: Cut a hole in the bottom of the pumpkin. (If using a faux pumpkin, cut off the faux pumpkin stem and hot glue on a real pumpkin stem.) Step 2: Print out a pattern template (the one we used.
