
Simple Ladybird Drawing
How To Draw A Realistic Ladybug Art for Kids Hub 7.7M subscribers Subscribe Subscribed 2.3K 406K views 3 years ago How To Draw Insects, Bugs, And Crawlers In this lesson, we're learning how to.

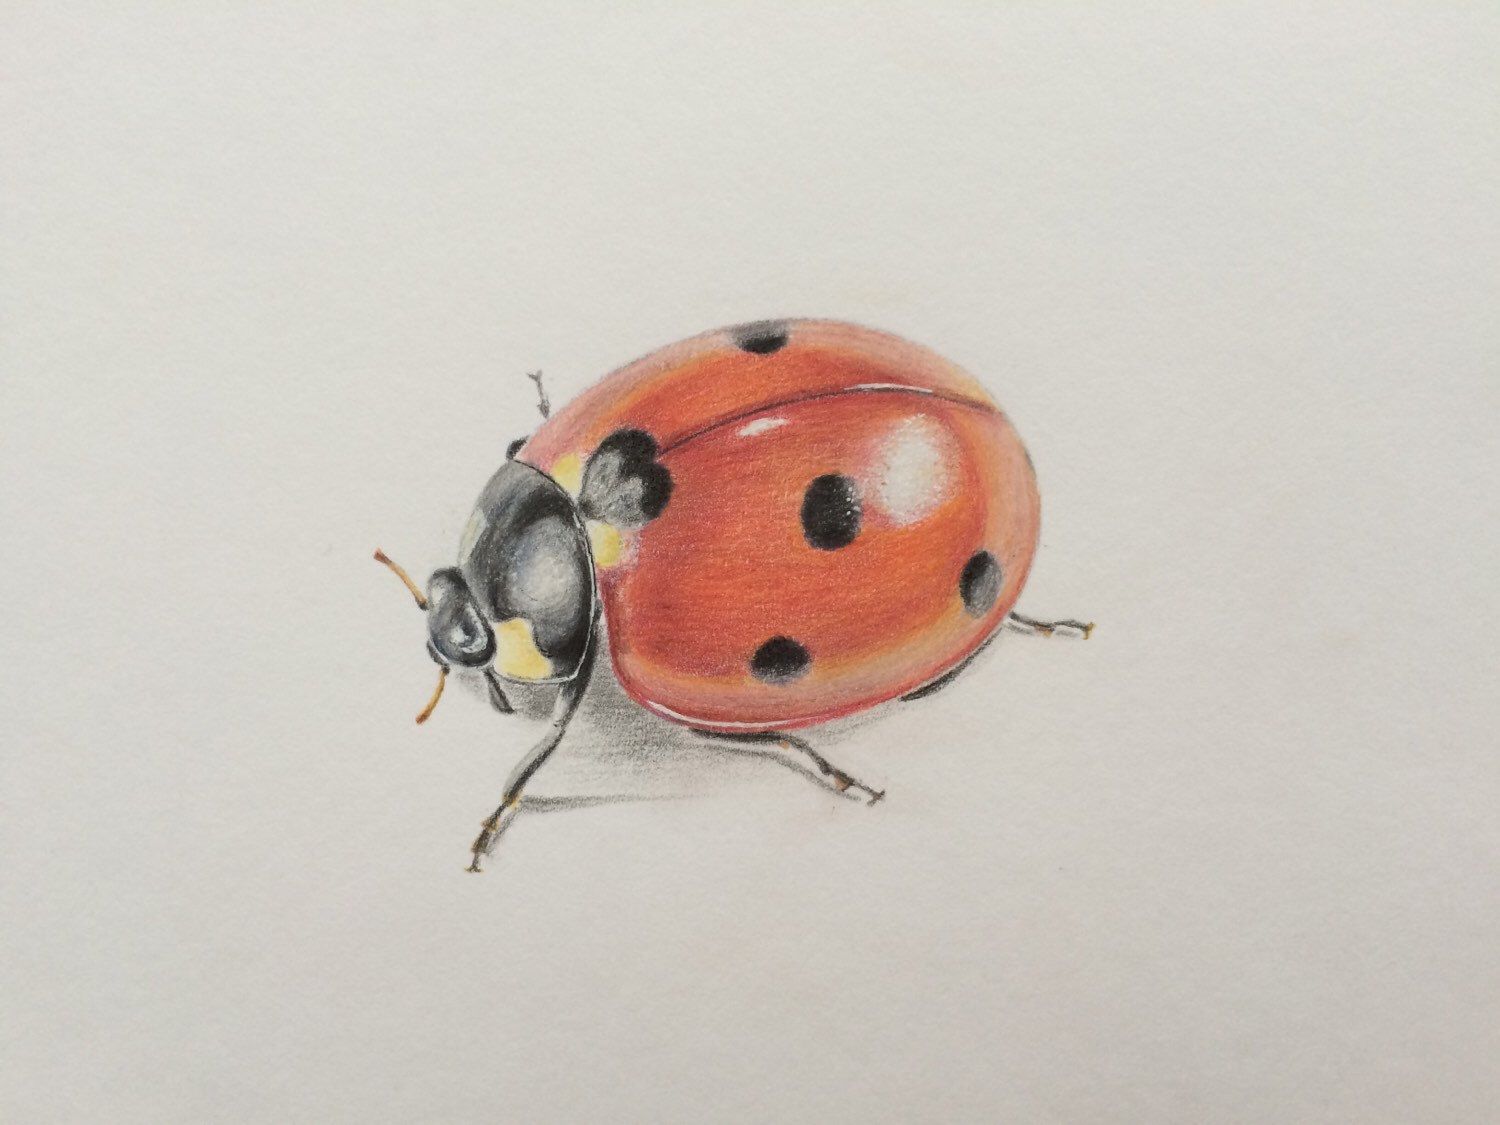
Ladybug Drawing in Color Pencils Realistic Ladybug Drawing Faber Castell Polychromos YouTube
Step by Step Directions. Time needed: 45 minutes. How to Draw a Ladybug Step by Step. Draw a large oval for the body. Add a small bump for the head. Draw a curve on the back. Add the seven spots on the back as shown. Draw two antennae on the head. Add the two front legs bending forward.

Pin by FOSTERGINGER on Illustration Ladybug art, Art demo, Insect art
Step 4: Shading in the Ladybug Face with Pen. We want to now move on to shading in the ladybug drawing with our black ballpoint pens, emphasizing the dark areas of the ladybug insect. This includes the pronotum and face area of the ladybug. With your ballpoint pen, proceed to shade in the pronotum area.
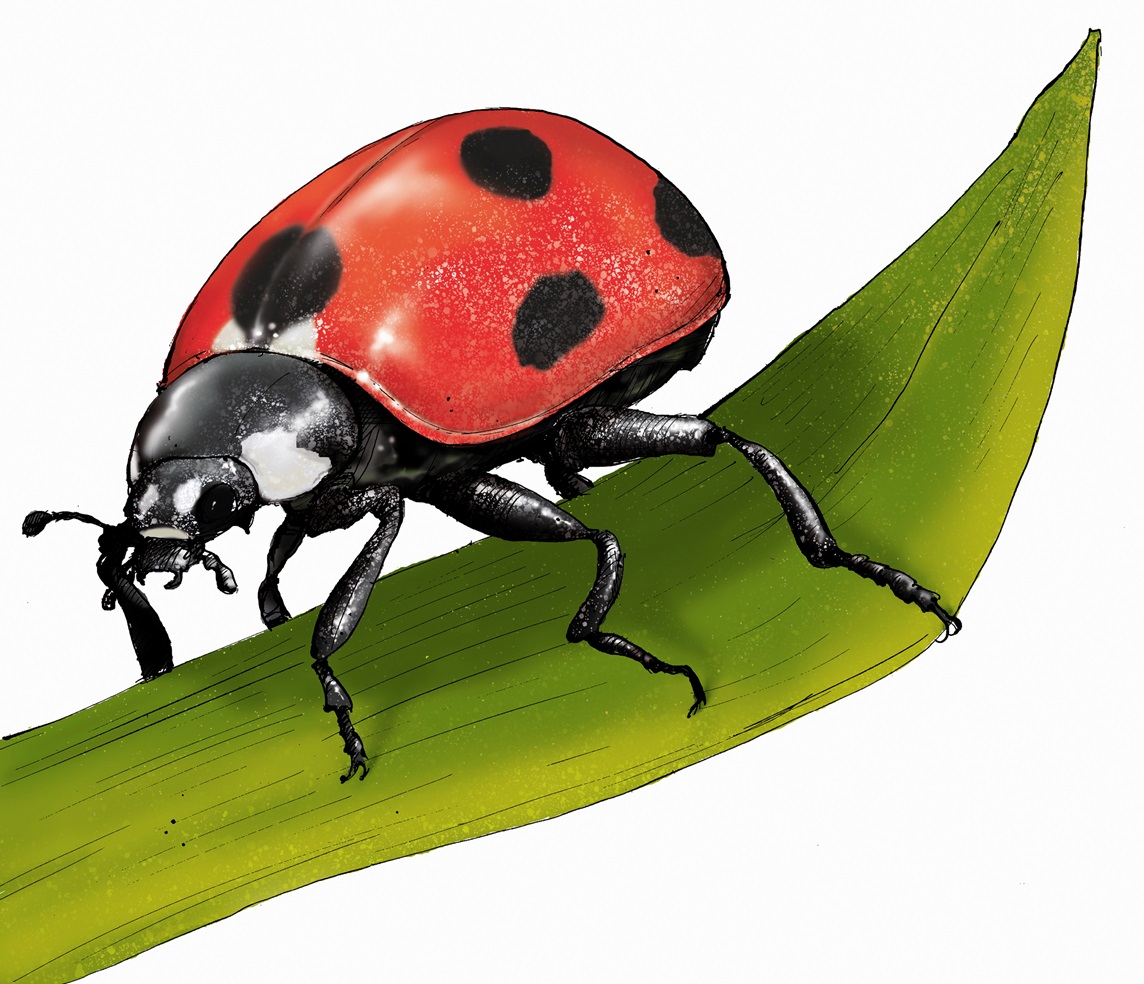
Illustration of ladybird Stock Images
Step 1 Mark off the width and height of the ladybug. Outline its head. Draw an oval for its abdomen. Add a line, which will act as the center of the ladybug's body. Step 2 Draw the thorax of the ladybug. Step 3 Add guidelines for the legs and antennas of the insect. Step 4 Draw the segments of the legs and partial antennas. Step 5

How to Draw a Ladybird 8 Steps (with Pictures) wikiHow
4 Share 61 views 3 months ago Animal Drawing Learn how to draw a realistic and colorful ladybug. We show you all the tips and tricks to achieve amazing results. Join us on our journey for a.
Ladybird Drawing Images
Easy Ladybug Drawing - Step 2. 2. Draw a small half circle at one end of the oval. This will form the cartoon ladybug's head. Then, draw a curved line across the body behind the head. This indicates the thorax, or middle body section, of the bug.
Ladybird Drawing at Explore collection of Ladybird Drawing
Step 1 Start by drawing a circle or an oval shape. This will be the body of your ladybug. Step 2 Draw a curved line from right to the left. Step 3 Draw a straight line from top to bottom - stop just before you reach the oval shape. Draw a little "triangle". Step 4 Draw dots.

Easy Ladybug Drawing at GetDrawings Free download
Learn how to draw a Seven Spot Ladybird real easy Draw real easy with Shoo Rayner - https://www.shoorayner.commusic by @cleffernotes

Cute Ladybird Drawing ClipArt Best
Instructions. The first step (blue outline) is to start with two small circles. These are the ladybug beetles eyes, so this is the middle of your own ladybug. You will then create a curved line from the middle of the top of one eye to the other top of the middle of the other eye. This is creating the top of the head.
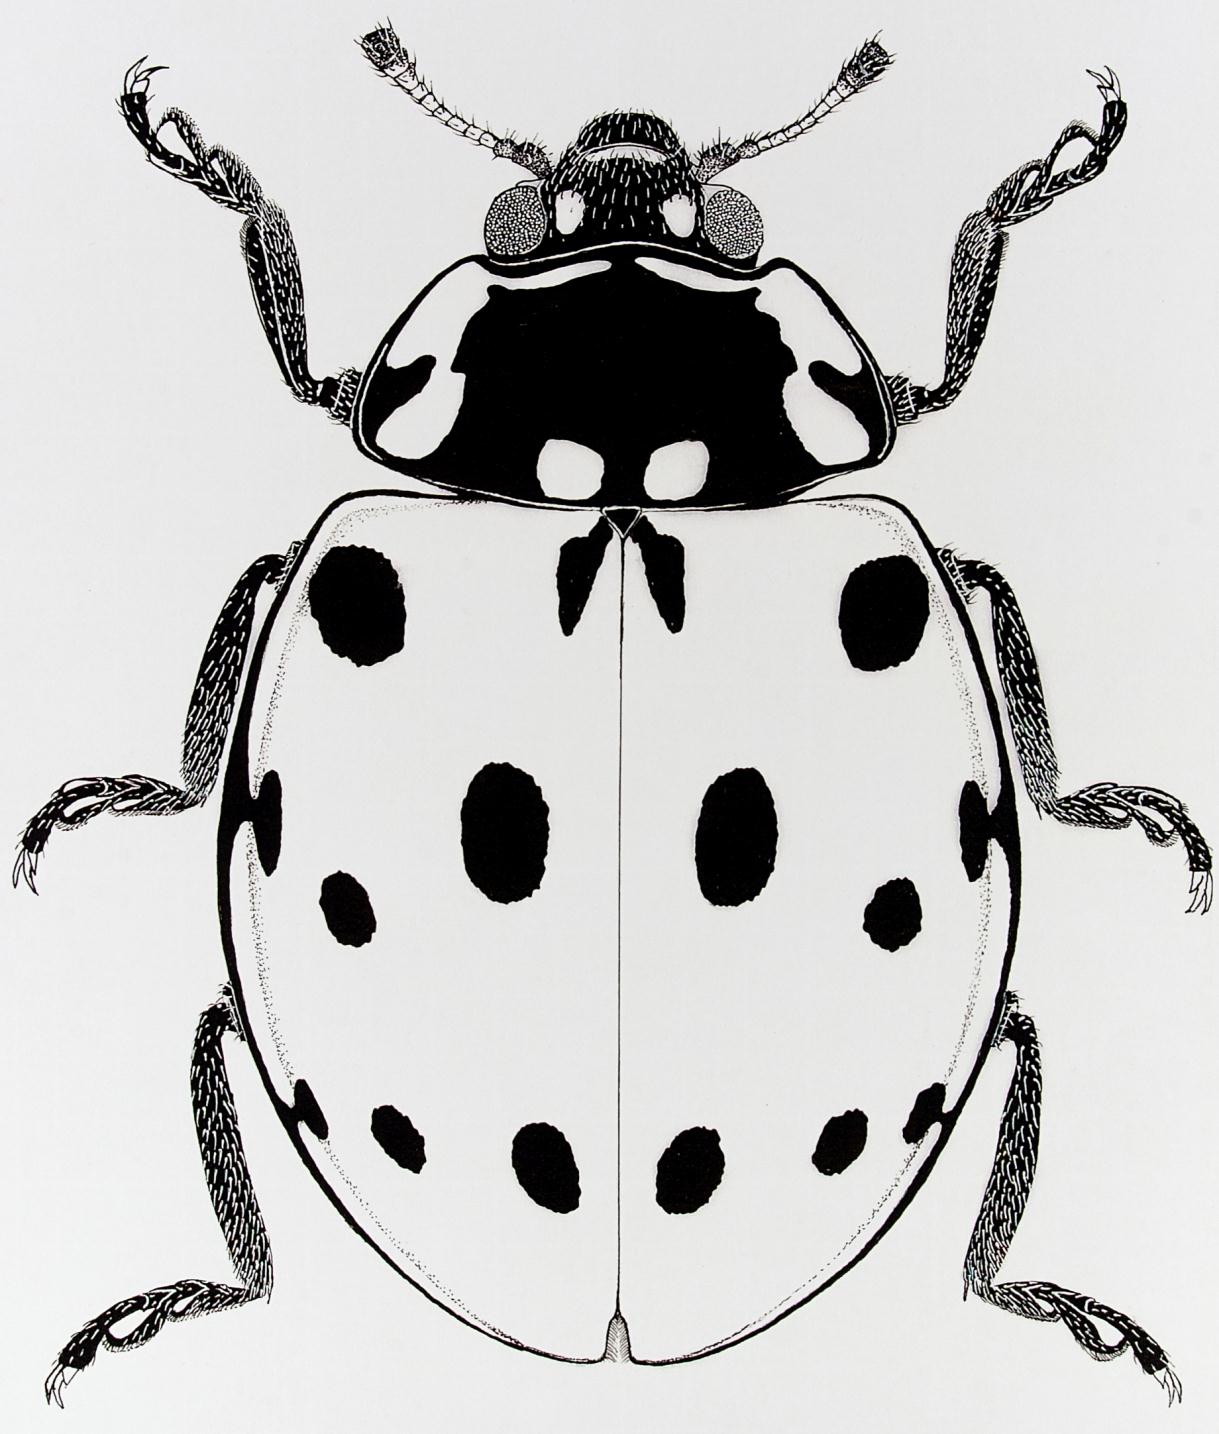
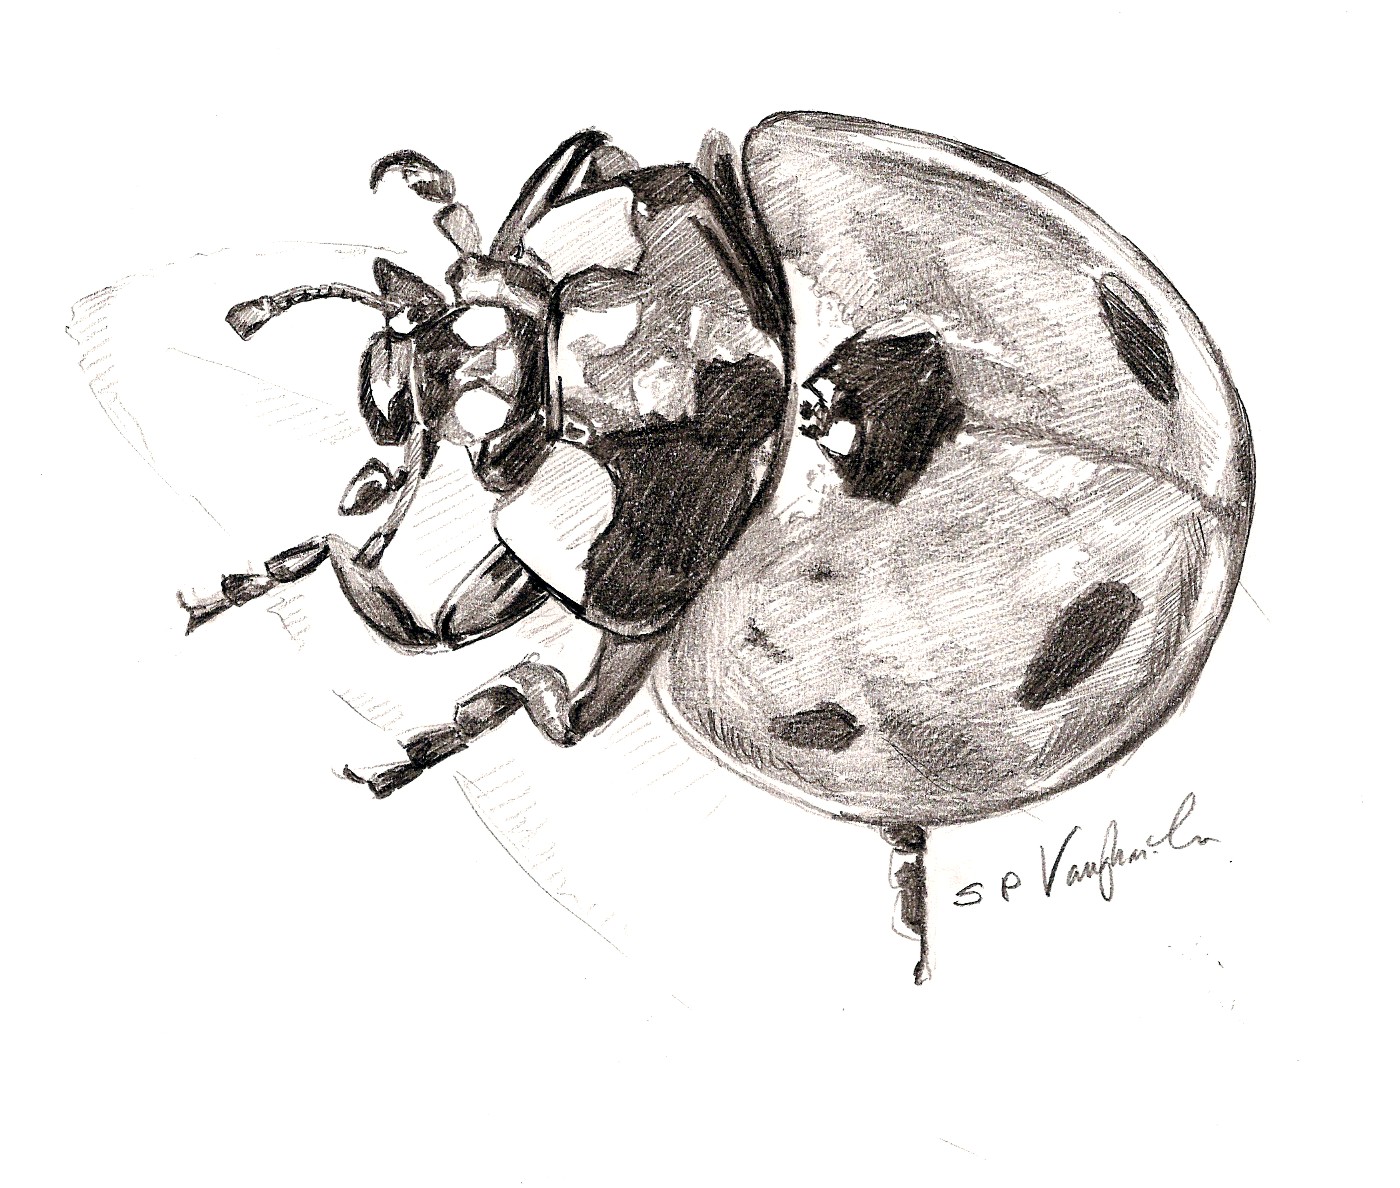
The Hope Entomological Collections Drawing techniques for publication
Ladybird drawing 4y Collection by Lynda McMahon Similar ideas popular now Drawings Painted Rocks Drawing Lessons For Kids Art Drawings For Kids Cool Drawings Drawing Videos Drawing Tips Fun Activities For Kids Arts And Crafts For Kids Art For Kids School Easy Drawings For Kids Art Lessons Video Lessons Doodle Drawings Doodle Art Animal Drawings

Ladybug Outline Line Drawing Painting Kindergarten Worksheet Guide Black and white birds, Clip
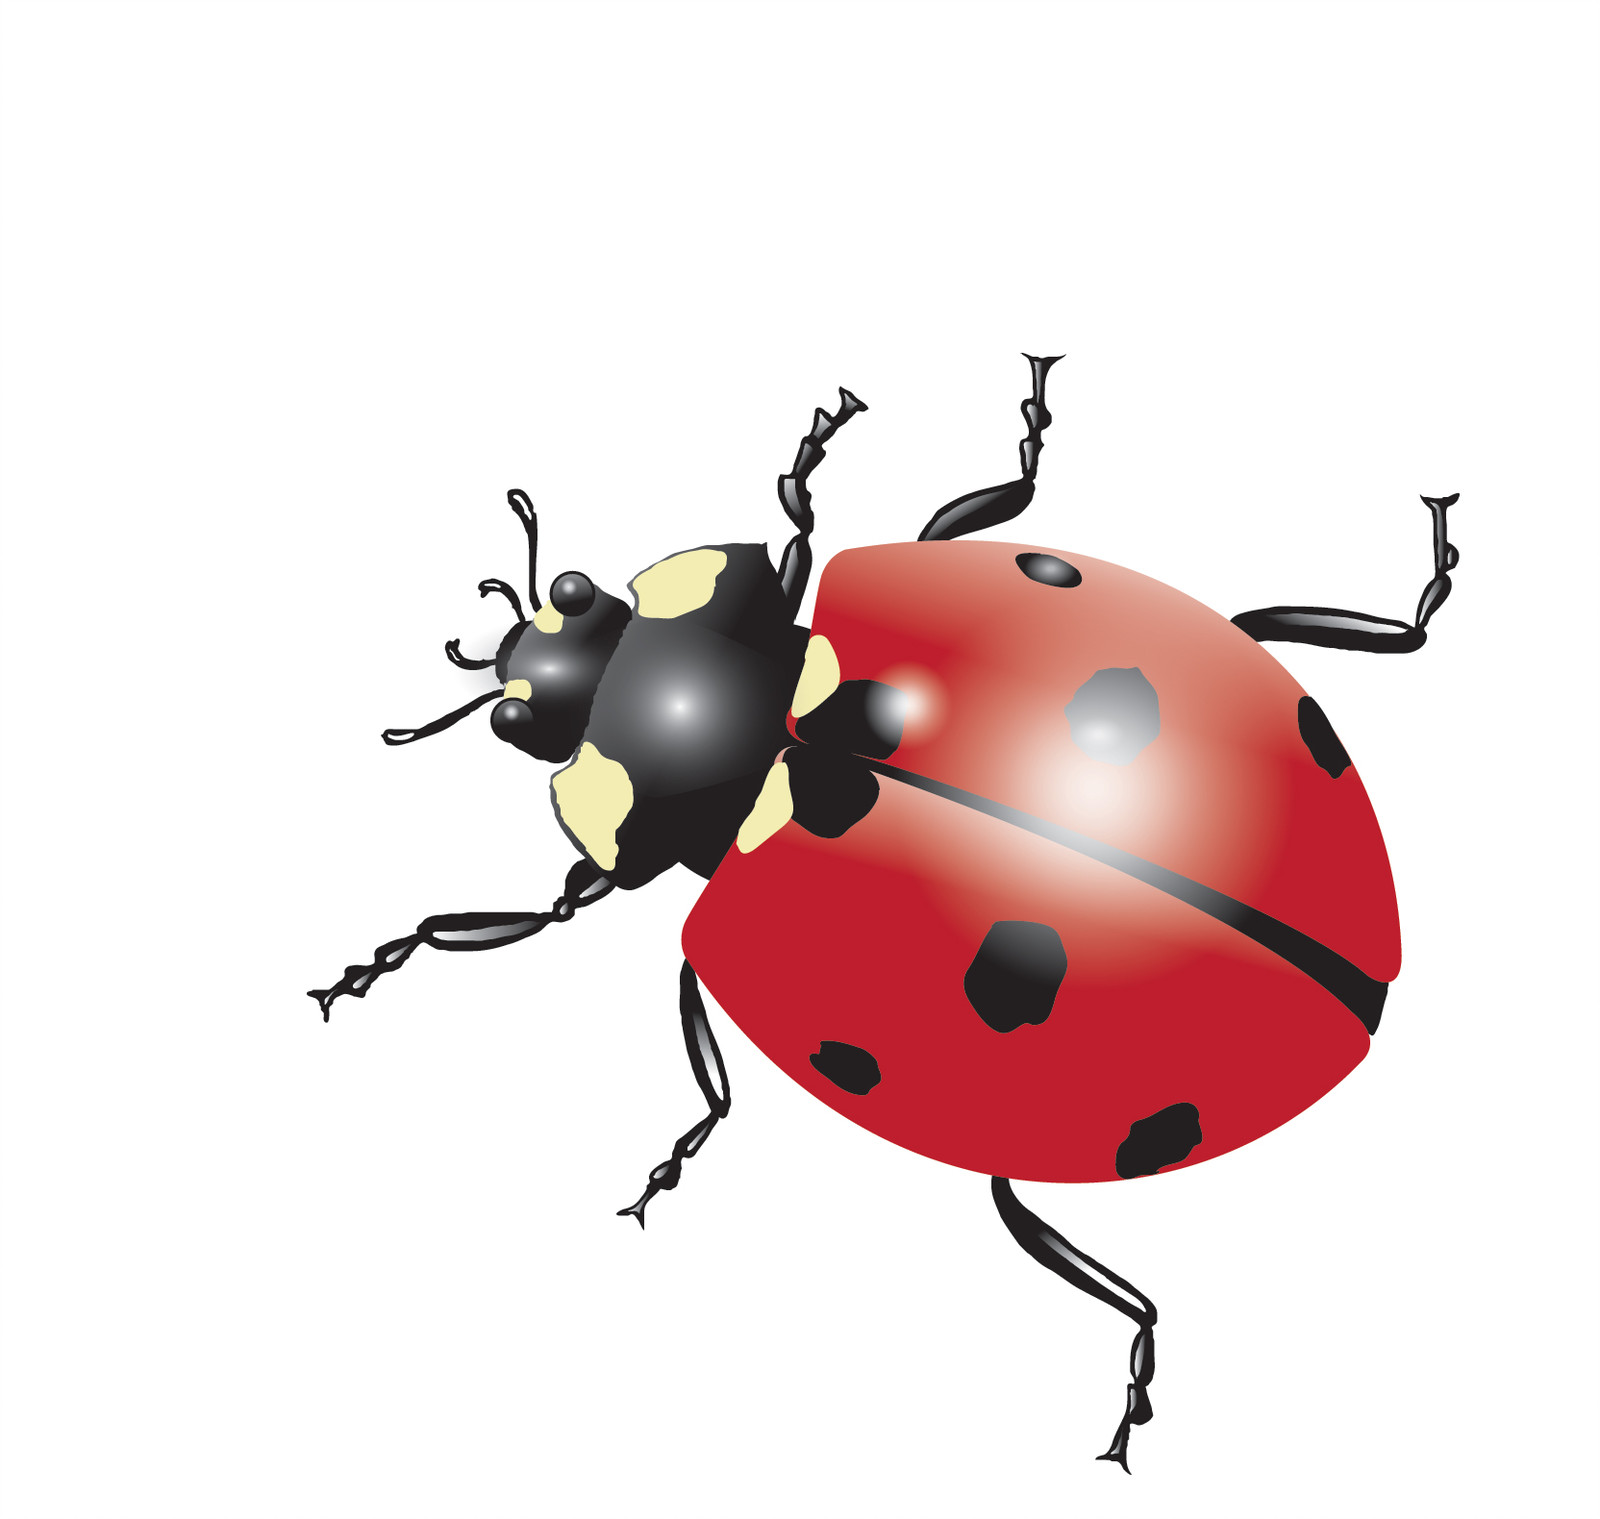
Step One: Sketch an oval Photo & Art: Margherita Cole | My Modern Met Begin by drawing a large oval at a slight angle. This will be the abdomen and elytra of the ladybug. Step Two: Draw a line in the middle Photo & Art: Margherita Cole | My Modern Met Next, draw a line down the middle of the oval. Step Three: Add a trapezoidal shape (the pronotum)

Clipart Panda Free Clipart Images
Step 1 - Draw the ladybug's body. Let's start by drawing the body close to the middle of the page. Draw a curve that nearly forms a circle a few inches wide, but don't close it entirely—leave a small gap at the bottom. We'll fill in the gap in the next step. Step 2 - Form the wings of the ladybug.
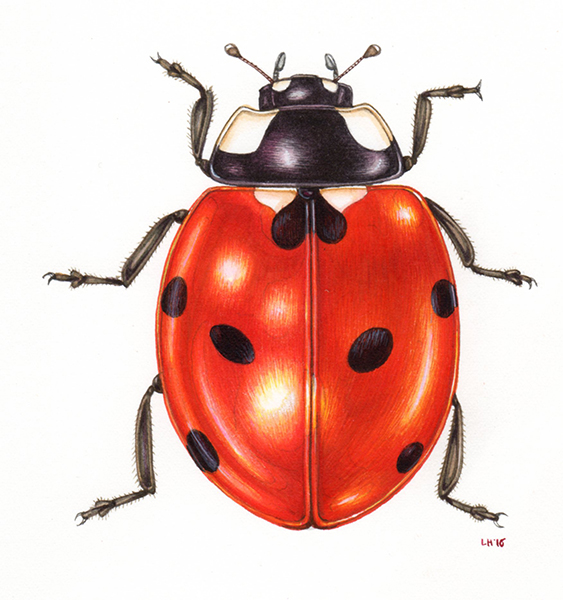
Step by Step Ladybird Watercolour illustration Lizzie Harper
Step 2 - Next, draw the wing divide of your ladybug. This part of your ladybug drawing will be very simple! In order to show the divide of the wings on the ladybug's back, you can simply draw a line down the middle of the oval body. When you do this, try to keep the line as close to the center of the oval as you can.

Ladybird Line Drawings ClipArt Best
How To Draw A Cartoon Ladybug Art for Kids Hub
Ladybird Drawing at Explore collection of Ladybird Drawing
STEP #1 First draw a circle to represent the main body of your Ladybug. STEP #2 Draw the first 2 legs of the Ladybug. STEP #3 Draw the second set of legs and the beginning of the Ladybug's eyes. STEP #4 Draw the ladybug head, add some body detail and the 3rd set of legs. STEP #5 Draw on the ladybug's body spots. STEP #6
Drawing from experience... Ladybird (Ladybug)
How To Draw A Cartoon Ladybug Art for Kids Hub 7.69M subscribers Subscribe 470K views 5 years ago How To Draw Cute Cartoons How to draw a cartoon ladybug! 🎨 ART SUPPLIES we love.
