How to draw Hello Kitty stepbystep with simple and easy drawing tutorial
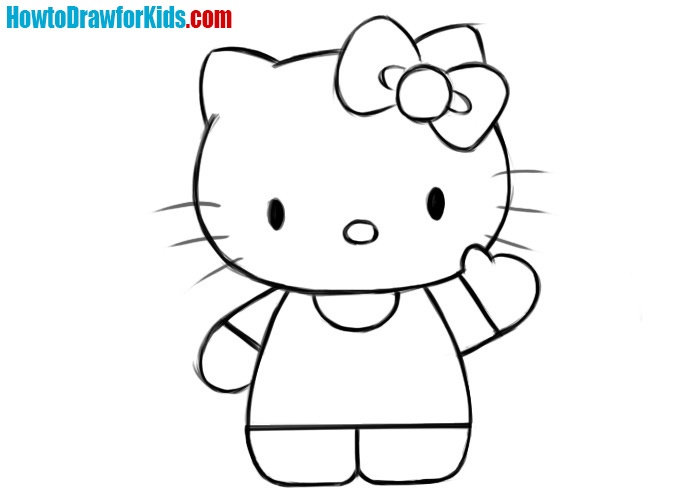
Use light, smooth strokes for sketching. Step 1: To draw Hello Kitty, start by drawing a sideways oval on the top half of the paper. This will be the basic shape of Hello Kitty's head. Just beneath this shape, draw a square with rounded corners. Draw the square slightly smaller than the head shape.
How to Draw Hello Kitty Easy Drawing Tutorial For kids
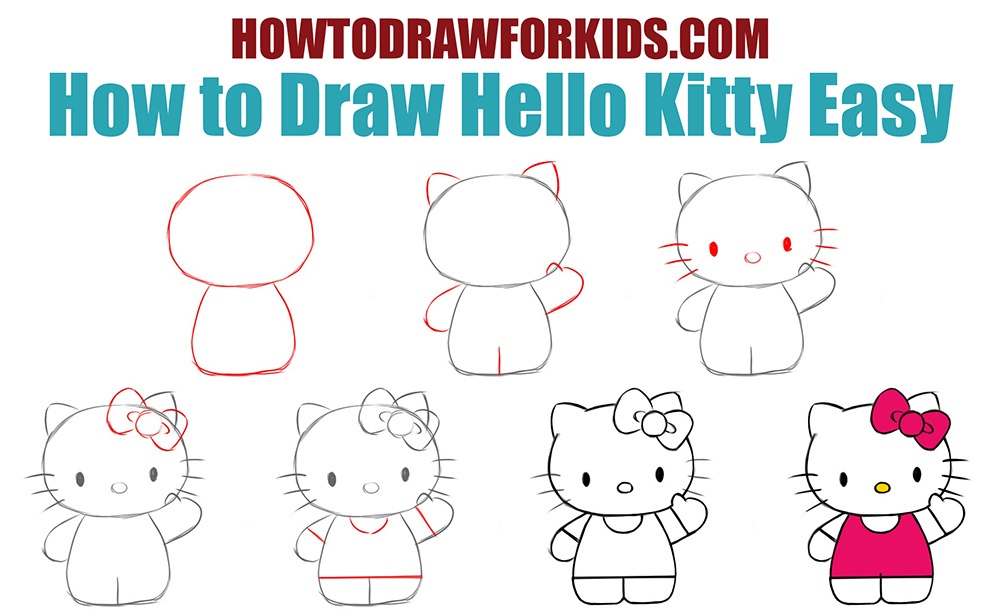
With 8 steps, the guide will navigate you from drawing the basic proportion sketch to the final detailing. The last step would be to ink your sketch, giving it a finished and professional look. Make sure to let the ink dry completely before gently erasing the pencil sketch to prevent smudges. Step 01. Step 02.

How To Draw Cartoons Hello Kitty
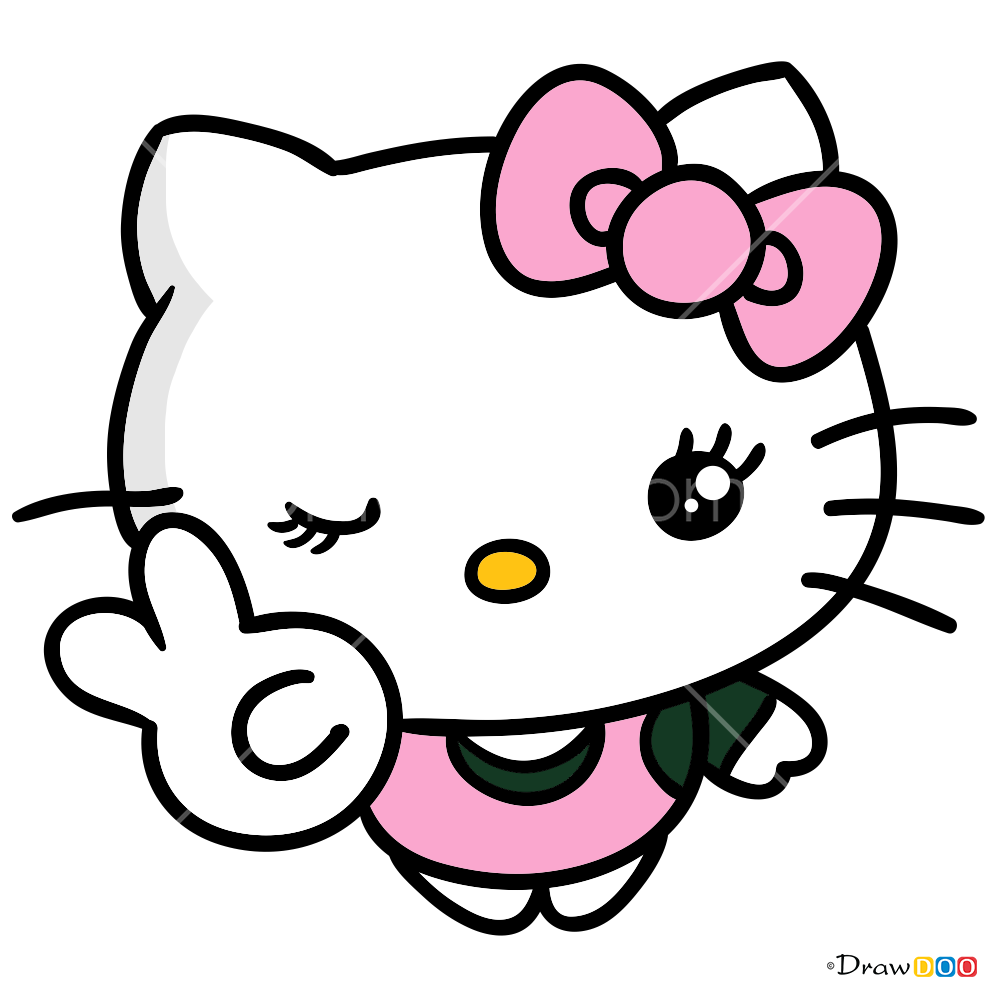
The ears are just 2 triangles. The head of our Hello Kitty is slightly tilted to the left. That's why I included a horizontal guide line that goes across the kitty's head to show the angle. Keep everything on that line (the eyes, nose, whiskers) so it looks consistent and natural. Experiment with different colors.

Hello Kitty Drawing For Kids at GetDrawings Free download
How to draw Hello Kitty easy and step by step. Draw Hello Kitty by following this drawing lesson. Hello Kitty drawing tutorial. Get The Markers HERE = https:.

How to Draw Hello Kitty (with Pictures) wikiHow
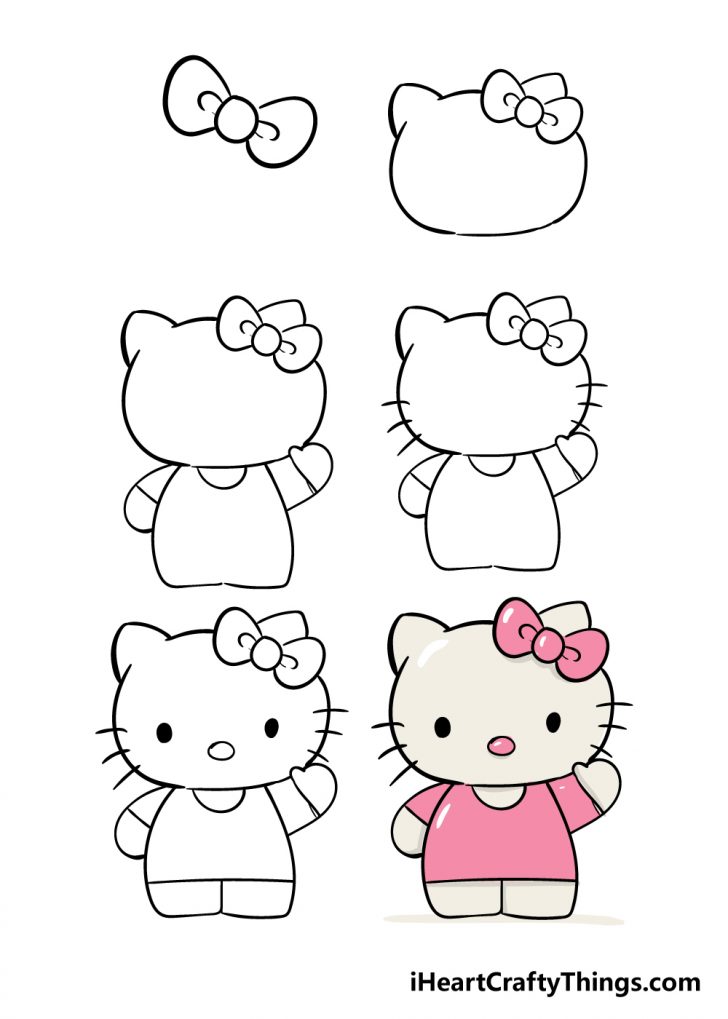
Step 2 - Draw the head outline for Hello Kitty. While the bow is an important element of the Hello Kitty design, it's not the only iconic aspect of the character! She is also well known for her big round head, and that is what we will be drawing in this step. Be sure to keep the bow that you drew in the first step at the top right-hand side.
Hello Kitty Drawing How To Draw Hello Kitty Step By Step
Easy Hello Kitty Drawing - Step 3. 3. Draw the bow. First, draw a circle for the center of the bow, Then, use curved lines to enclose the rounded shapes of the lobes of the bow. Next, draw smaller round shapes inside the larger ones.
How to Draw Hello Kitty Easy How to Draw for Kids
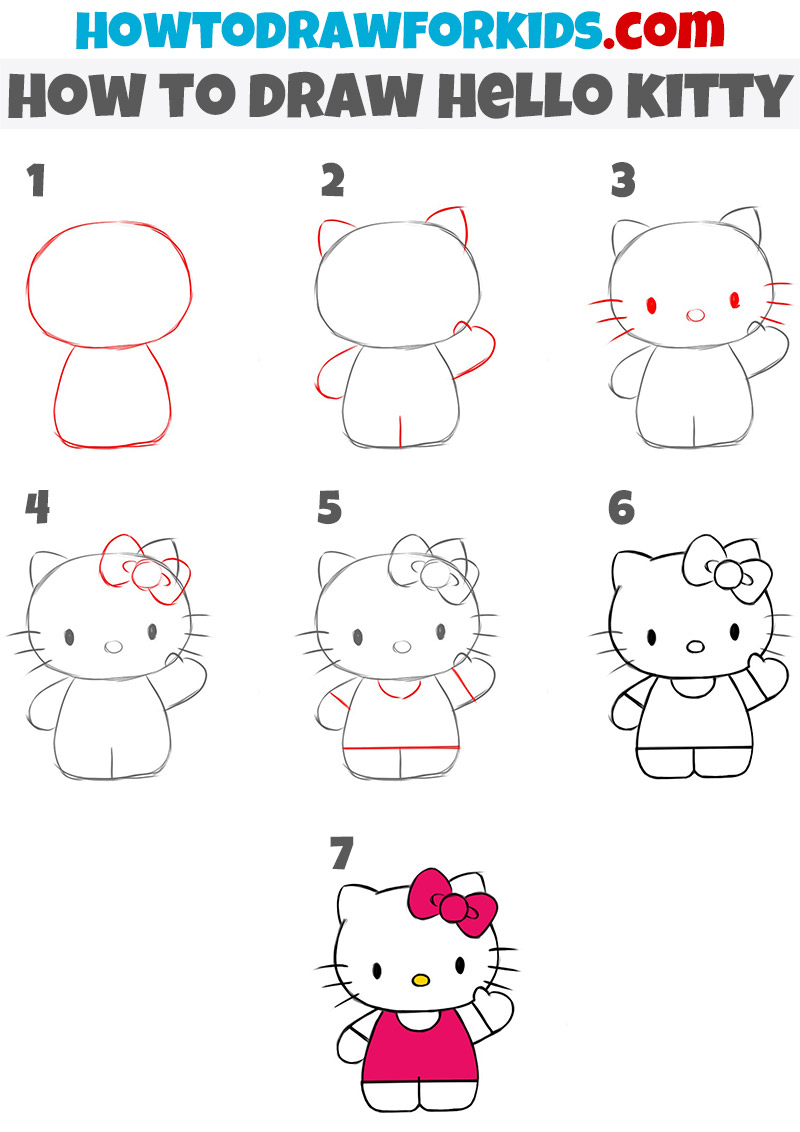
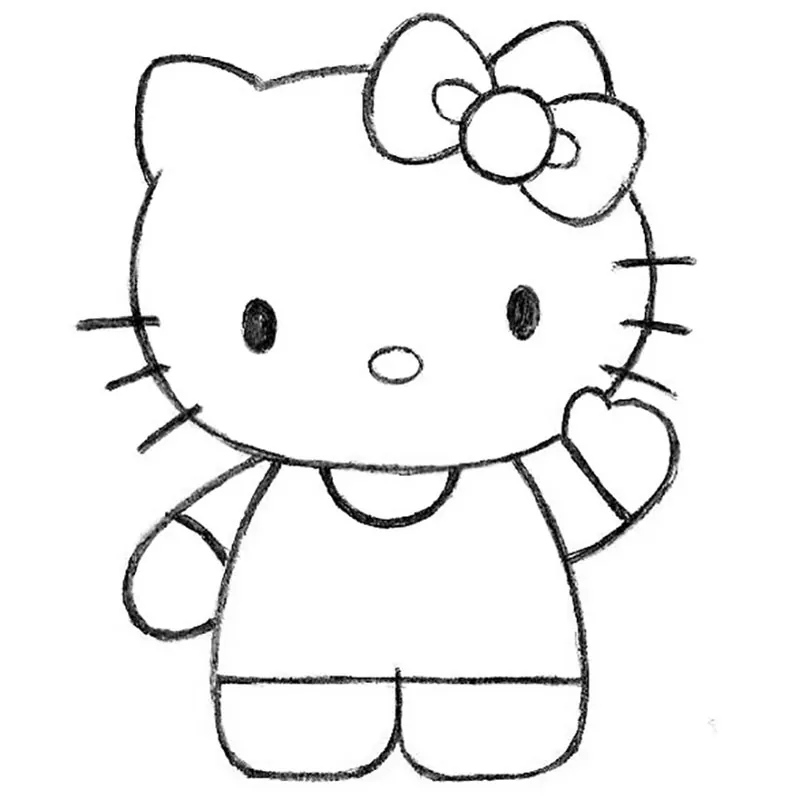
Coloring supplies. Time needed: 30 minutes. How to Draw Hello Kitty. Sketch the head and torsi. With smooth lines, draw the head and torso of Hello Kitty. Sketch out the ears. At the top of the head, outline the character's ears. Then outline the arms as in my example. Add the eyes, nose and whiskers.
Hello Kitty Drawing / Learn How to draw Hello Kitty face (Hello Kitty
Draw an oblong which matches the big head of Hello Kitty. 2. Draw a purse-shape below the oblong. Draw a vertical line at the middle of the two shapes. 3. Draw the hands or arms using curve lines. Draw small circles in each arm. 4. Draw lines in the body for the clothes.
How to Draw Hello Kitty Easy How to Draw for Kids
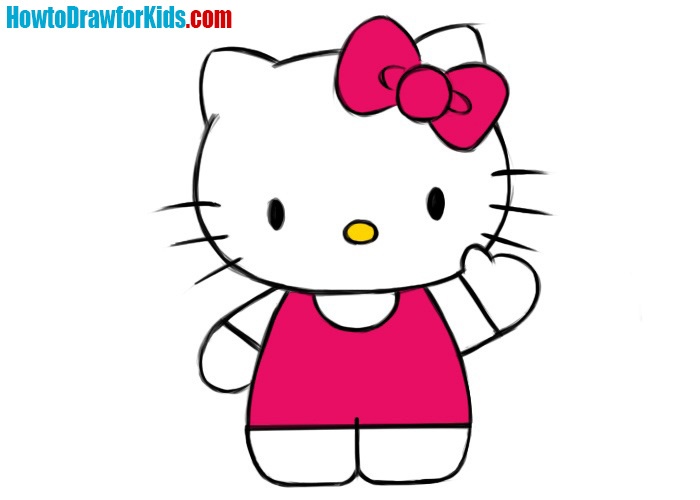
Draw the nose and ears of Hallo Kitty. Add a line to define the place for her pelvis. Step 3. Draw the body and feet of the girl. Add a circle for the flower on her head. Step 4. Add the arms, flower petals and collar of the T-shirt. Step 5. Sketch the sleeves of the T-shirt, thumbs, eyes and whiskers of Hello Kitty.
How to Draw Hello Kitty Easy Drawing Tutorial For kids
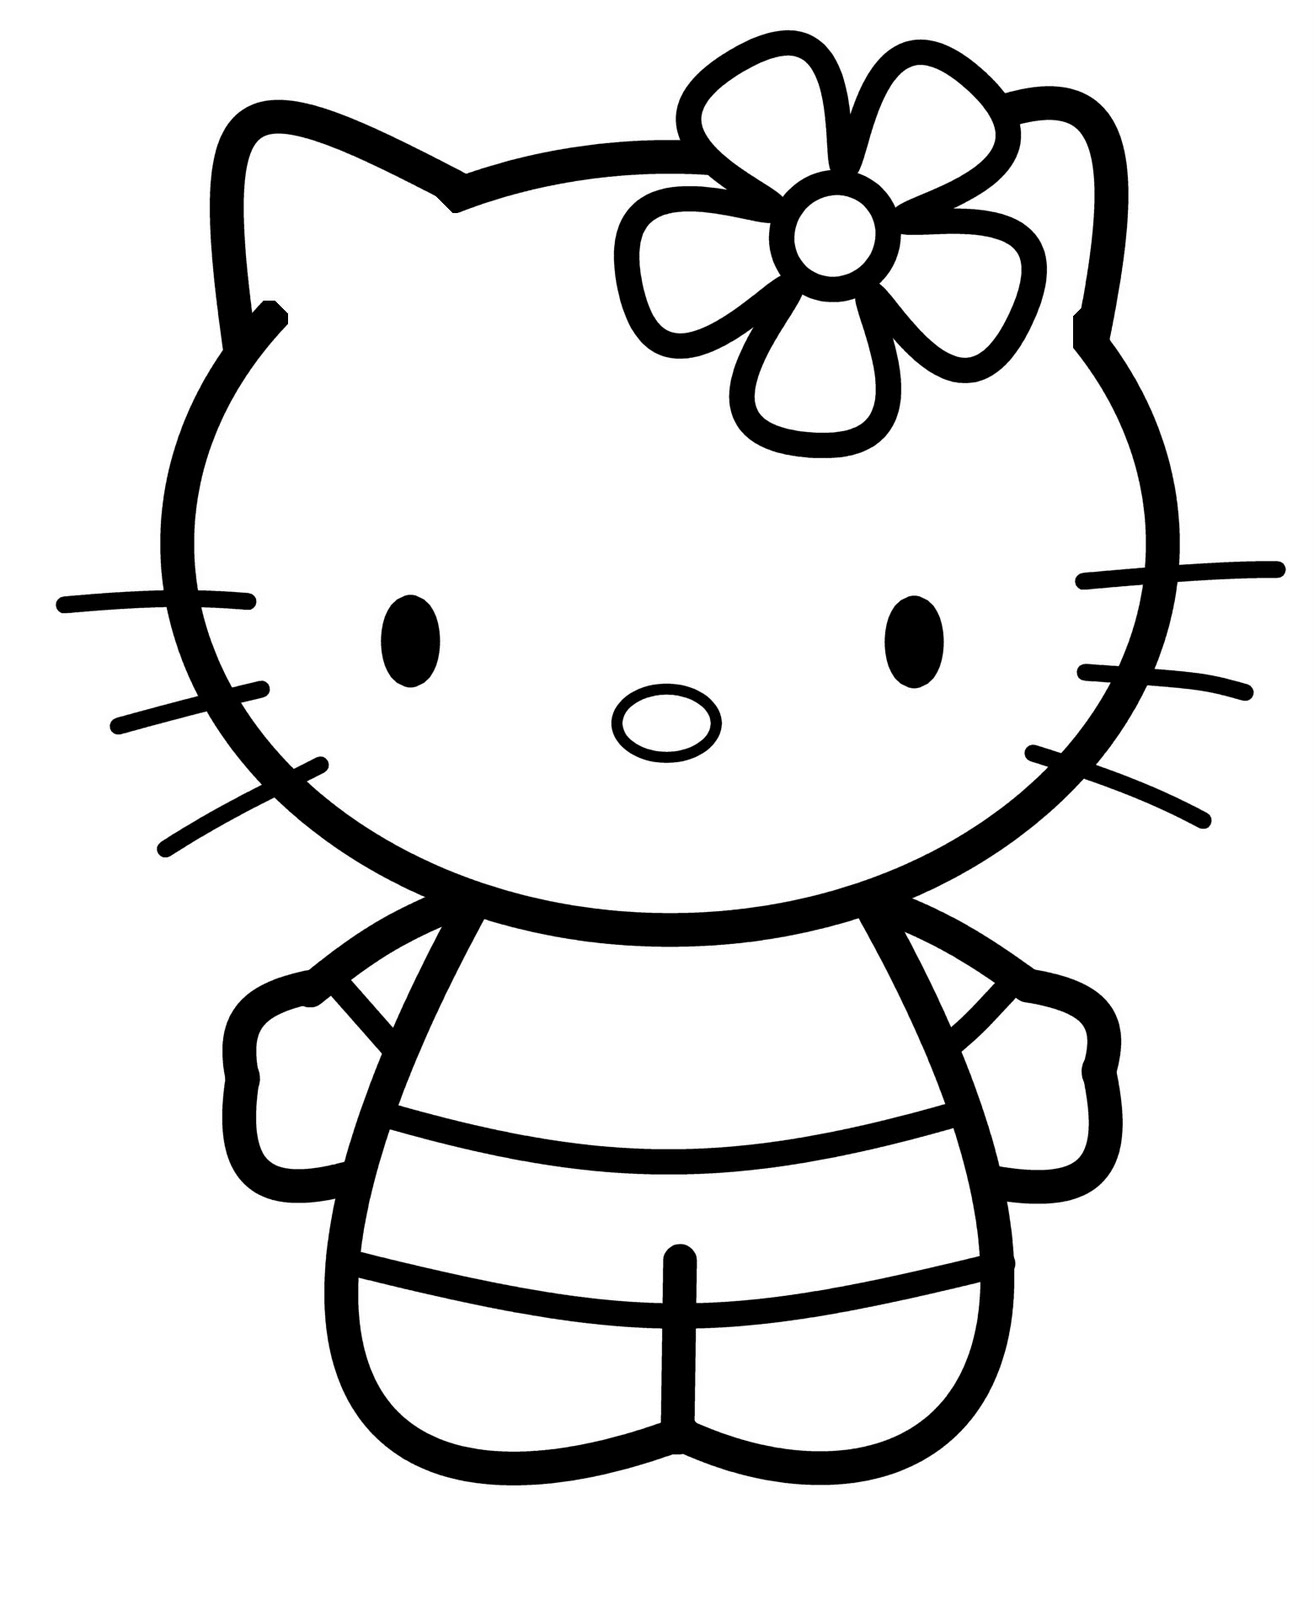
Color Your Hello Kitty Face Drawing. Outline your cartoon Hello Kitty face with black to complete the drawing. Use a thick marker or paintbrush to make a bold cartoon outline. Finally, color Hello Kitty's nose yellow and her bow dark pink. Leave the face white.
Hello Kitty Drawing How To Draw Hello Kitty Step By Step
How to draw hello kittySUBSCRIBE: http://bit.ly/2Tx1ViGINSTAGRAM: https://www.instagram.com/guuhdesenhosFACEBOOK: https://www.facebook.com/guuhdesenhosBLOG:.
How To Draw Cartoons Hello Kitty
Choose From a Wide Selection Of Informative and Comprehensive Books For You. Prime Members Can Enjoy Unlimited Free Shipping, Early Access To Lightning Deals and More.

2 Easy Ways to Draw Hello Kitty StepbyStep wikiHow
Draw a large circle for the head. Add two smaller circles inside the head for the eyes. Draw a small triangle for the nose. Add two curved lines underneath the nose for the mouth. Draw two small circles above the eyes for the ears. Add a bow or hair accessory to the top of the head. Draw a small body with stubby arms and legs.
Top more than 77 hello kitty pictures to draw super hot nhadathoangha.vn
Step 1 - Draw the bow. Hello Kitty wears a cute bow on the top of her head. Let's start with this accessory. First, draw a circle on the top-right quadrant of the page. Draw two small semi-circles coming out from the other side of the first circle. Add two rounded triangular shapes on the sides to complete the shape of the bow.

HELLO KITTY COLORING PAGES
How to draw Hello Kitty.Explore the easy and enchanting step-by-step process of how to draw Hello Kitty! In this comprehensive tutorial, we'll guide you thro.

How to Draw Hello Kitty in a Few Easy Steps Easy Drawing Guides
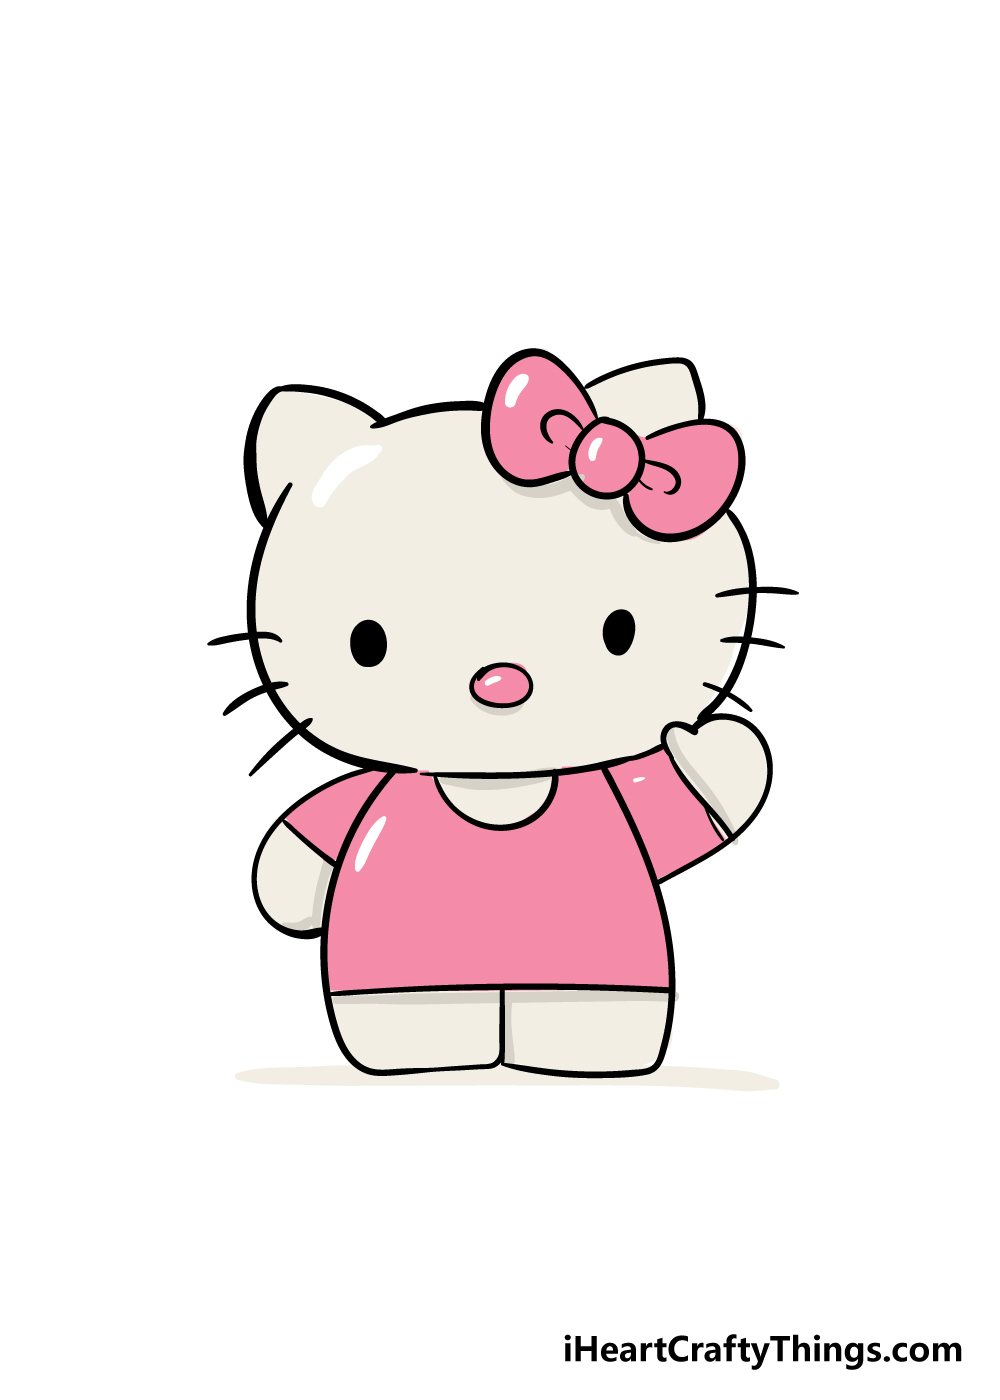
Here's how you can sketch a straightforward Hello Kitty illustration: Start with a comfy oval shape for her head. Think of it like drawing an egg standing upright. Now, for those iconic ears, sketch two small, playful triangles on top. Not too pointy! As you move on to her face, two gentle dots will serve as her eyes.
